Tag Archives: Cara Reynolds

Here Comes Mushpa Y Mensa!

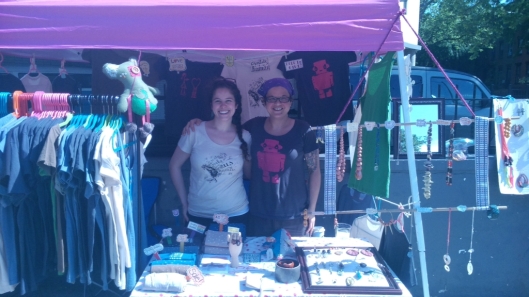
Fulton FleaGuess what time it is??? Flea Market season!!! Oh snap, you mean you can check out our wares in person, hang with us, tell us all your deepest, darkest secrets and buy amazing art all under the gorgeous NYC sun? Yes, that’s exactly what I mean!

Such LoveClick here or any of the cute market photos in this entry to see where we will be at, when we are there and how cool it is going to be when you get there. We are even venturing out to that other world called Long Island in May, so if you live on the island and stay out of the city, you to will have the opportunity to chill with La Mushpa y La Mensa! Seriously. :]

We can’t wait to see you.

– La Mushpa

Reverse Graffiti

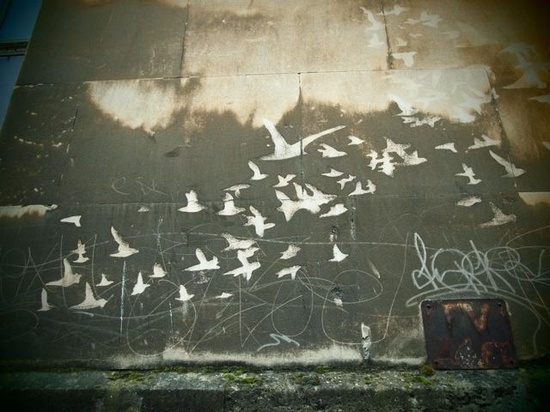
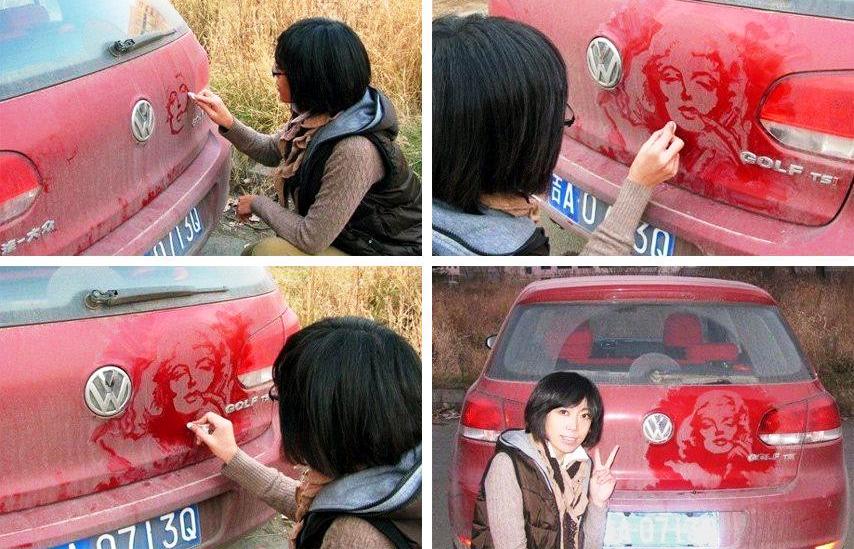
First off, for those that do not know what reverse graffiti is, “Reverse graffiti, also known as clean tagging, dust tagging, grime writing, green graffiti or clean advertising, is a method of creating temporary or semi permanent images on walls or other surfaces by removing dirt from a surface. It is often done by removing dirt/dust with the fingertip(s) from windows or other dirty surfaces, such as writing ‘wash me’ on a dirty vehicle. Others…use a cloth or a high power washer to remove dirt on a larger scale.” [source]

reverse-graffiti-6-ClassiclyAmberI like the idea of reverse graffiti for a couple of reasons. One, I like the idea of someone doing art for art, in the sense that it is for that moment, it will fade, be painted over, touched, disappear…

reverse-graffiti-4-ClassiclyAmberYes, there are photos like the ones here, but a picture in a monitor is not the same as art in your face. It’s a world of difference.

China MarilynCar on the Street Art! ;]

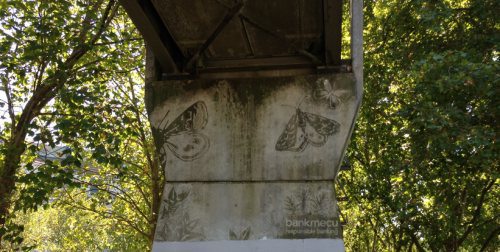
mothsSecond, it says more just in the materials used to create it. One tells you about the state our world is in and the other contaminates an already over contaminated world. I said it. Spray paint is not good for our environment.

Ruth Feeney designed for Newcastle Clean ArtRuth Feeney designed for Newcastle Clean Art

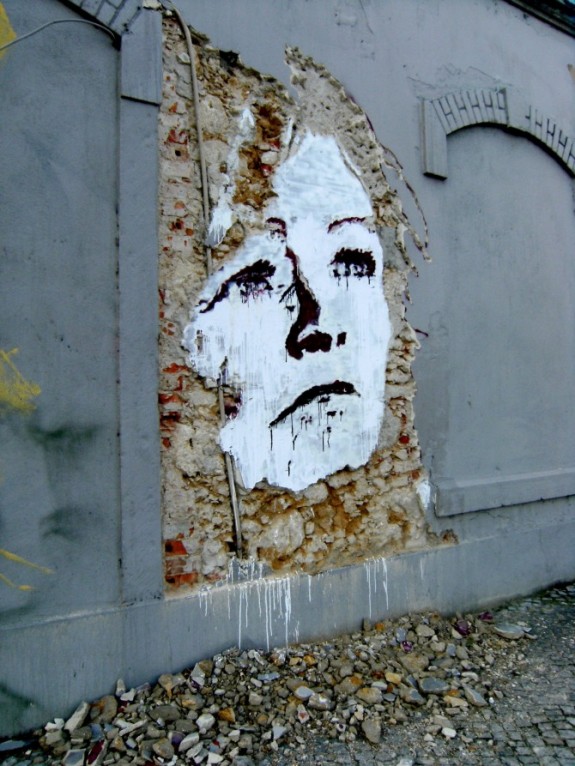
Alexandre Farto aka Vhils Wall Mural2Alexandre Farto aka Vhils Wall Mural 2

Alexandre Farto aka Vhils Cans FestivalAlexandre Farto aka Vhils Cans Festival

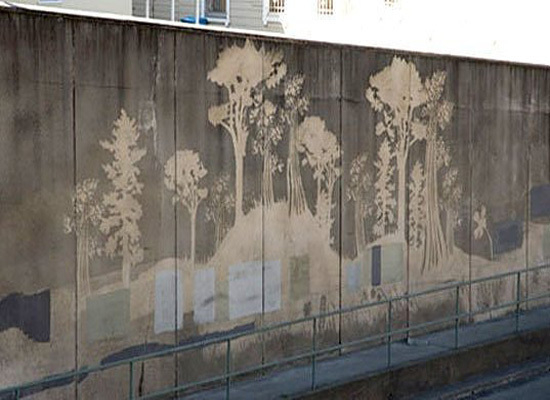
Reverse Graffiti Project, San Francisco, by Paul Moose CurtisReverse Graffiti Project, San Francisco, by Paul “Moose” Curtis

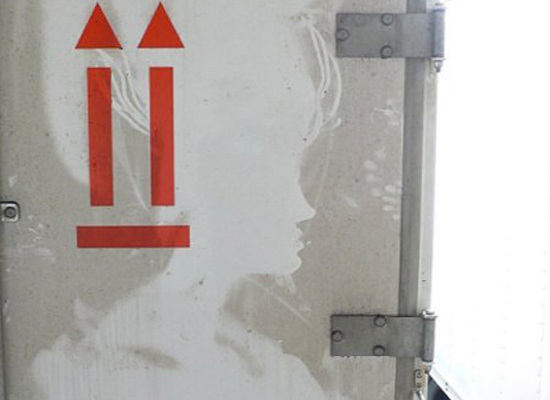
Lady on the back of a truck, New York CityLady on the back of a truck, New York City

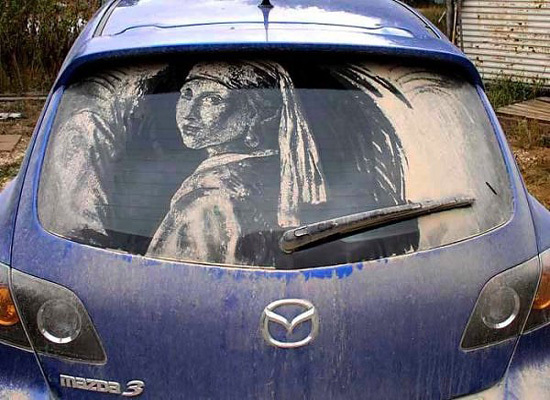
Vermeer’s Girl With a Pearl Earring, by Scott WadeVermeer’s Girl With a Pearl Earring, by Scott Wade

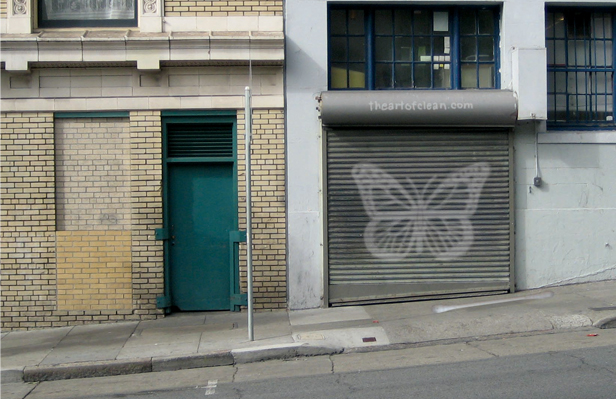
butteryflyAh, art, I love you.

– Mushpa

It’s Still The 1st Day of Spring In California

Guess what I did for the First Day of Spring?

Sweet Jane

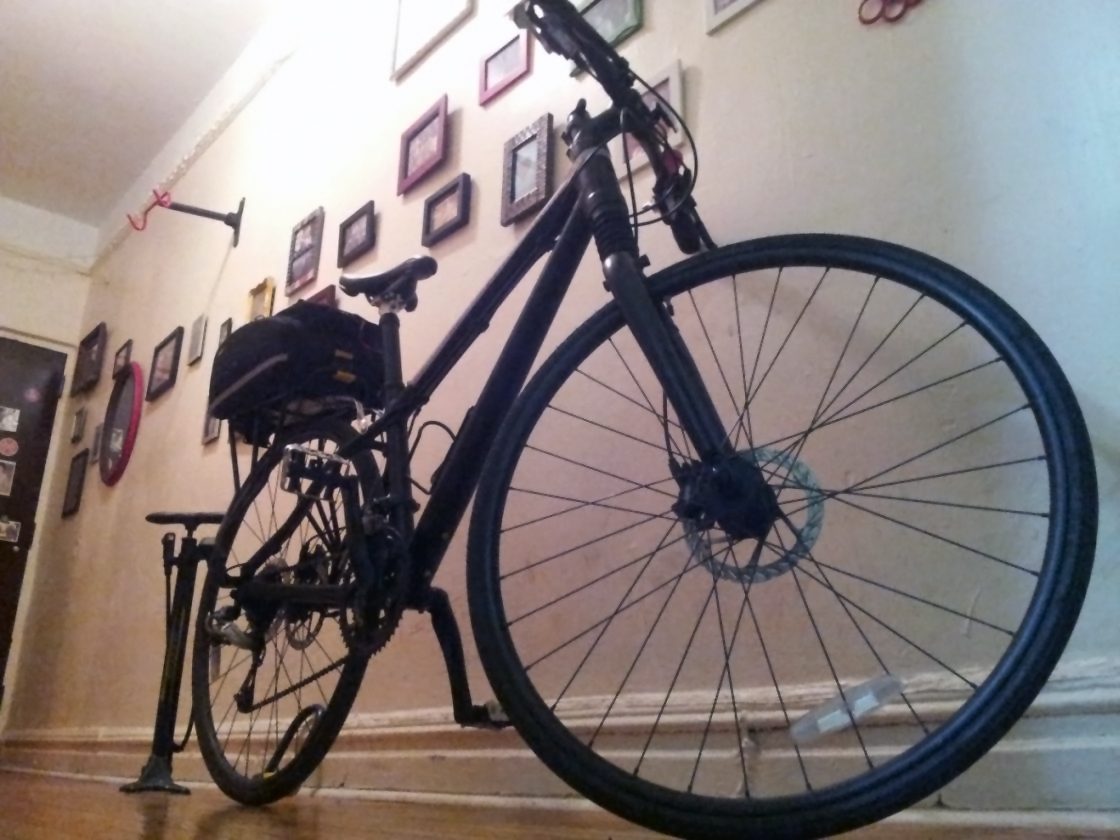
Super tuned up my Sweet Jane and went for a ride.

first day of spring

…and got some new glasses.

‘Tis the season!

– La Mushpa

You Look Fine!

First I’ll draw you in with pictures…

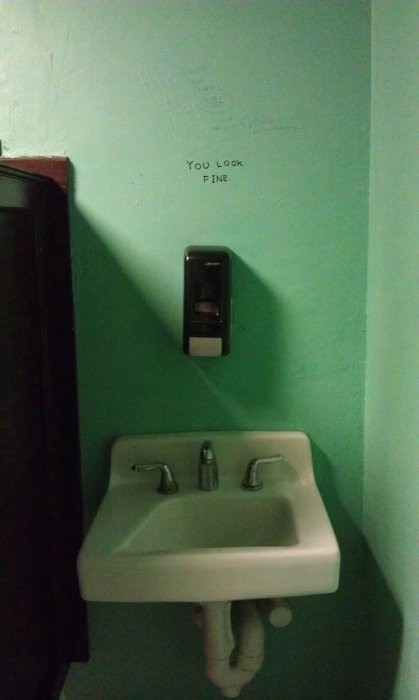
You Look FineYou really do…

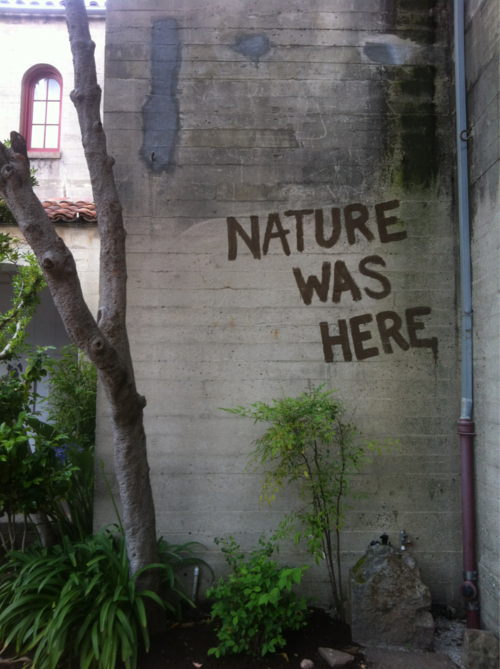
Nature Was HereRemember…

Your JudgementNo, but for real…

Everything mattersHug.

Then we’ll give you the chance to love Mushpa y Mensa…

What, you want to sign up for our newsletter to find out all the amazing things we have going on??? Ok, here…

:]

– Mushpa

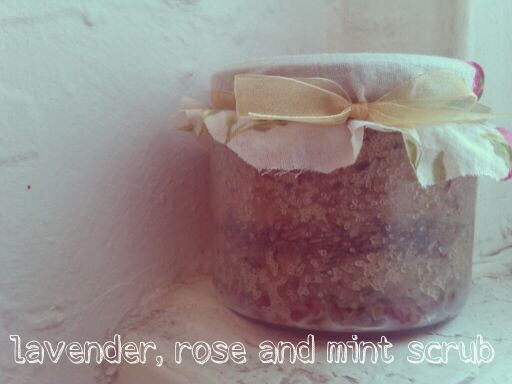
Minty Lavender & Rose Body Scrub

lavender rose mint scrub

February is Mushpa’s Birthday Month!
She has a wonderful tradition of celebrating not only one day, but other days too! It makes you feel extra special, and your birthday lasts not only a day, not only a weekend, but a whole month! I’ve tried to get very creative and have hand-crafted many of her little gifts. Stamps made out of wine corks, soul-mate bracelets, and even a home-made potpourri!

A couple of days ago, I decided to whip up a really easy, but super delicious body scrub using all natural ingredients for her. Good for the body, and good for the soul!

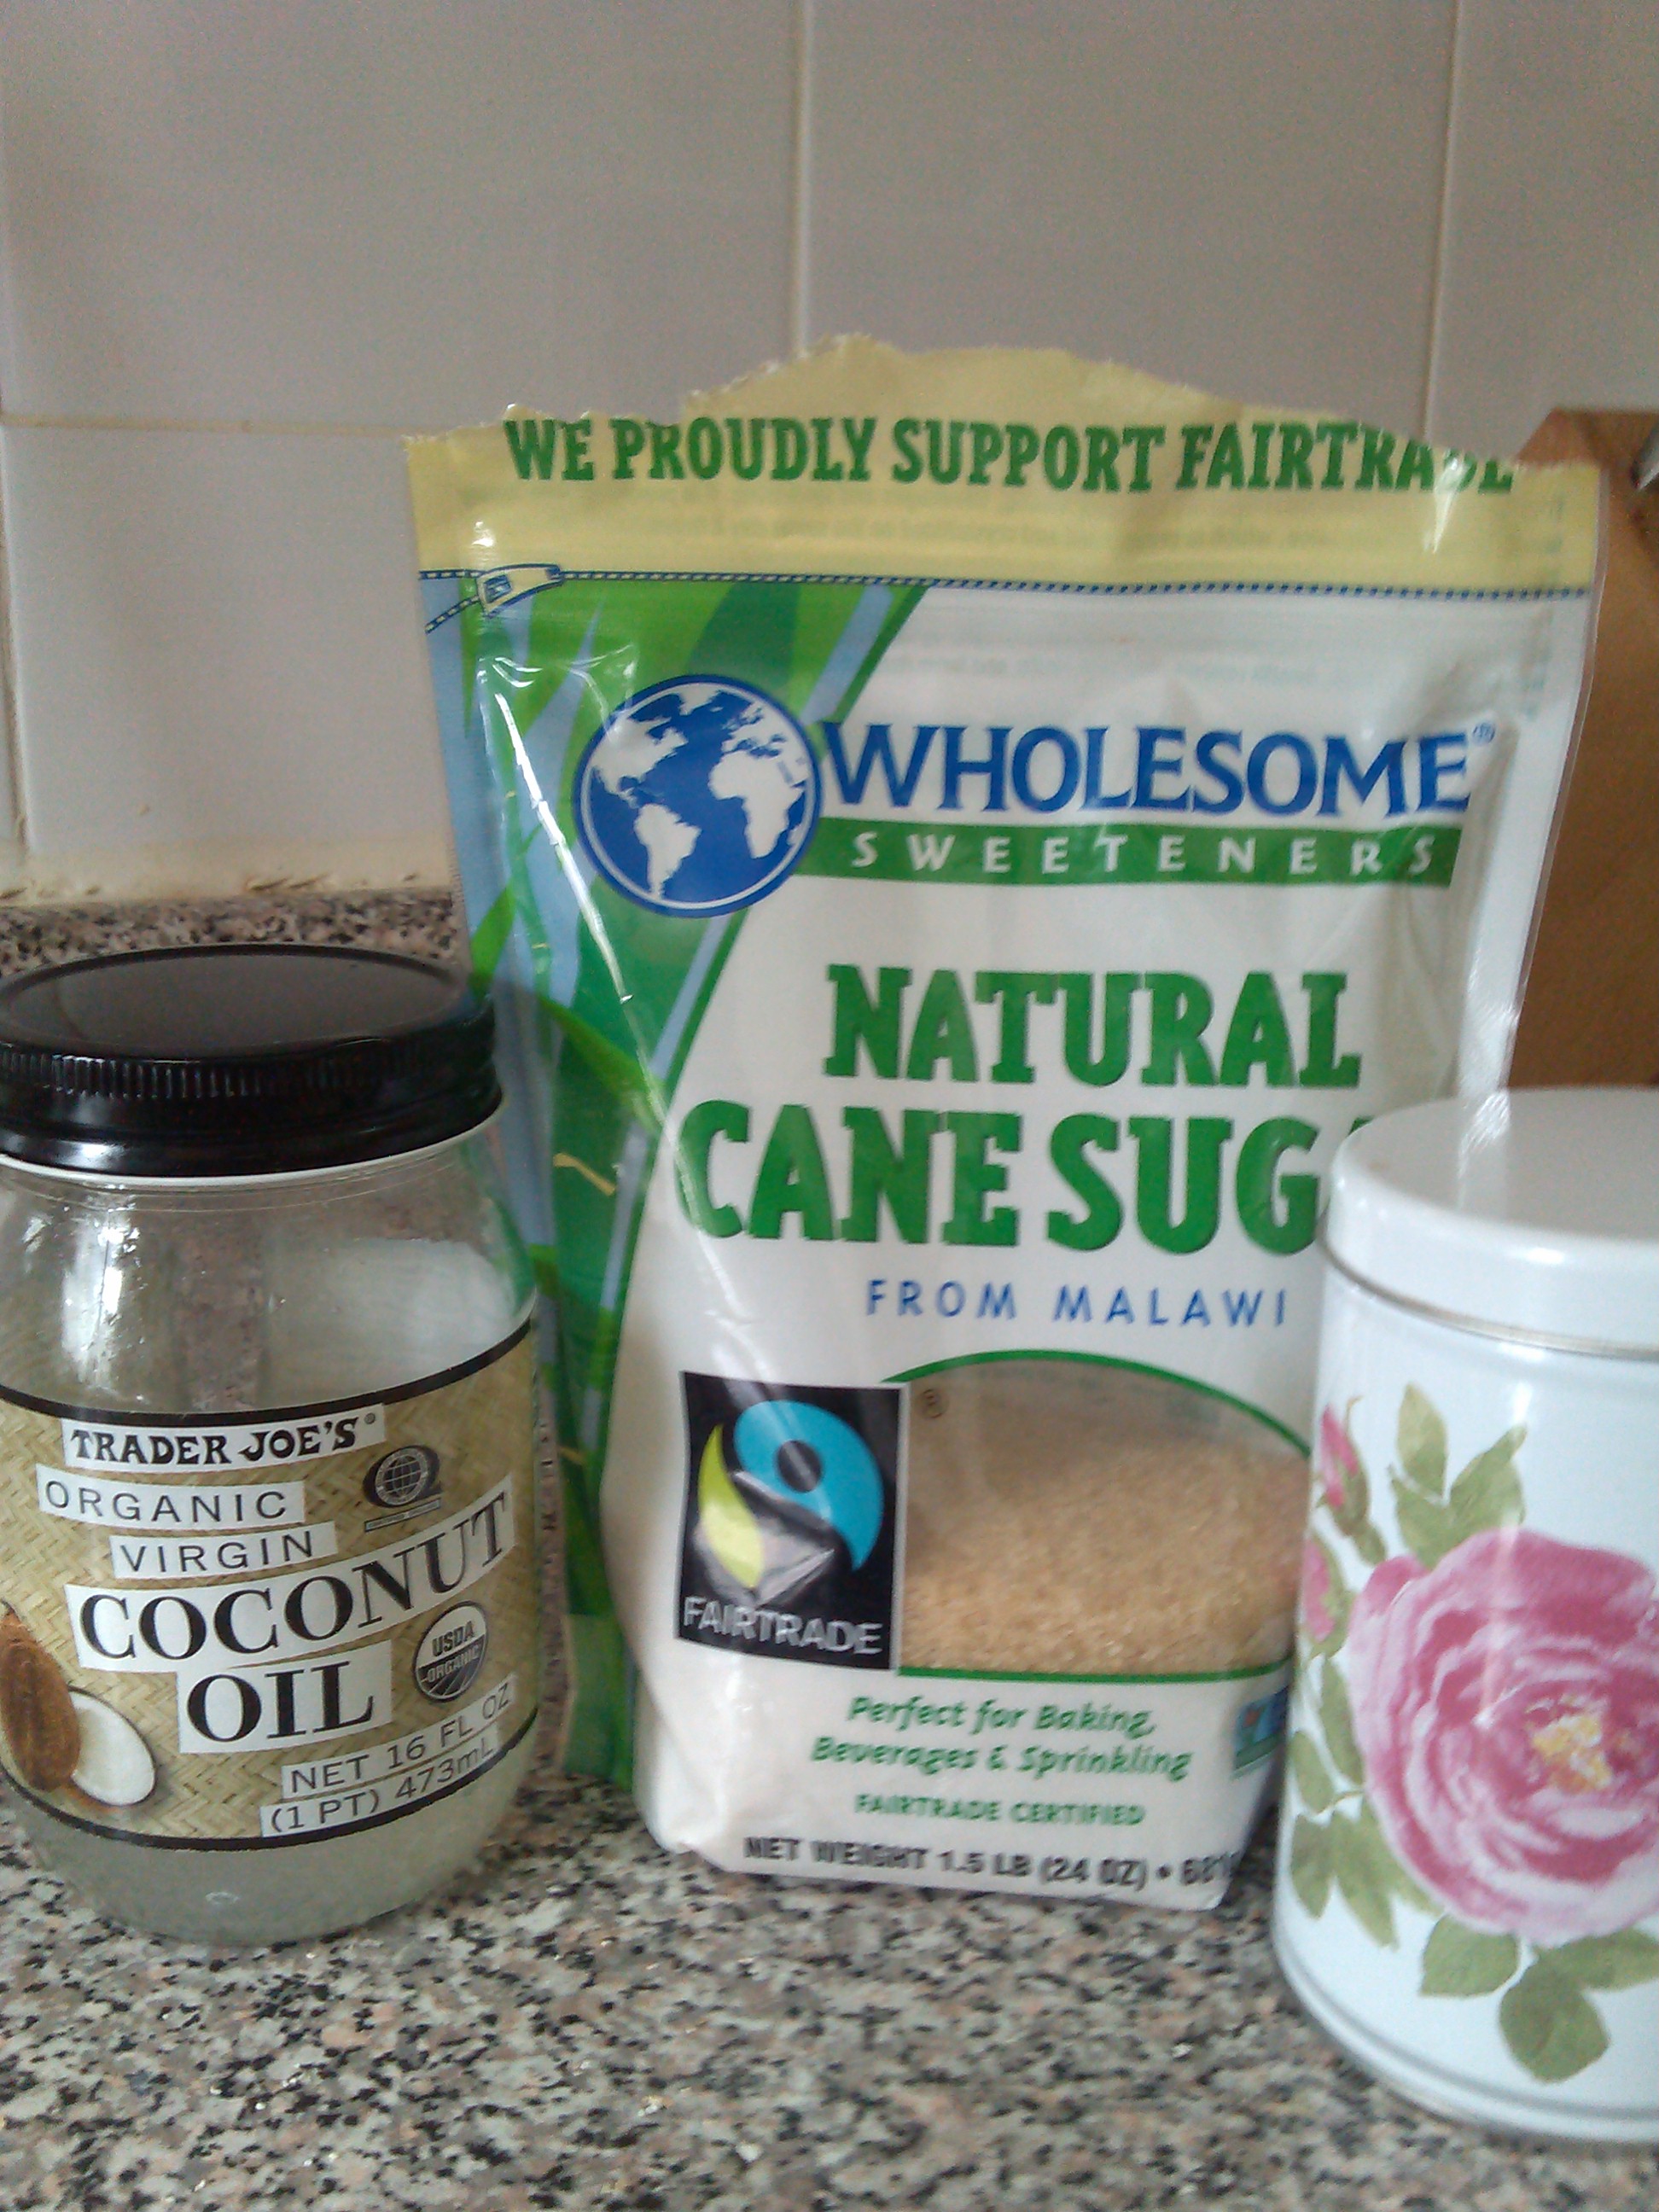
All you need is:

-a clean glass jar, fabric, rubber band and ribbon

– organic sugar of your choice. The coarser, I think the better.

-organic coconut oil

-peppermint oil (or any other minty oil of your choice)

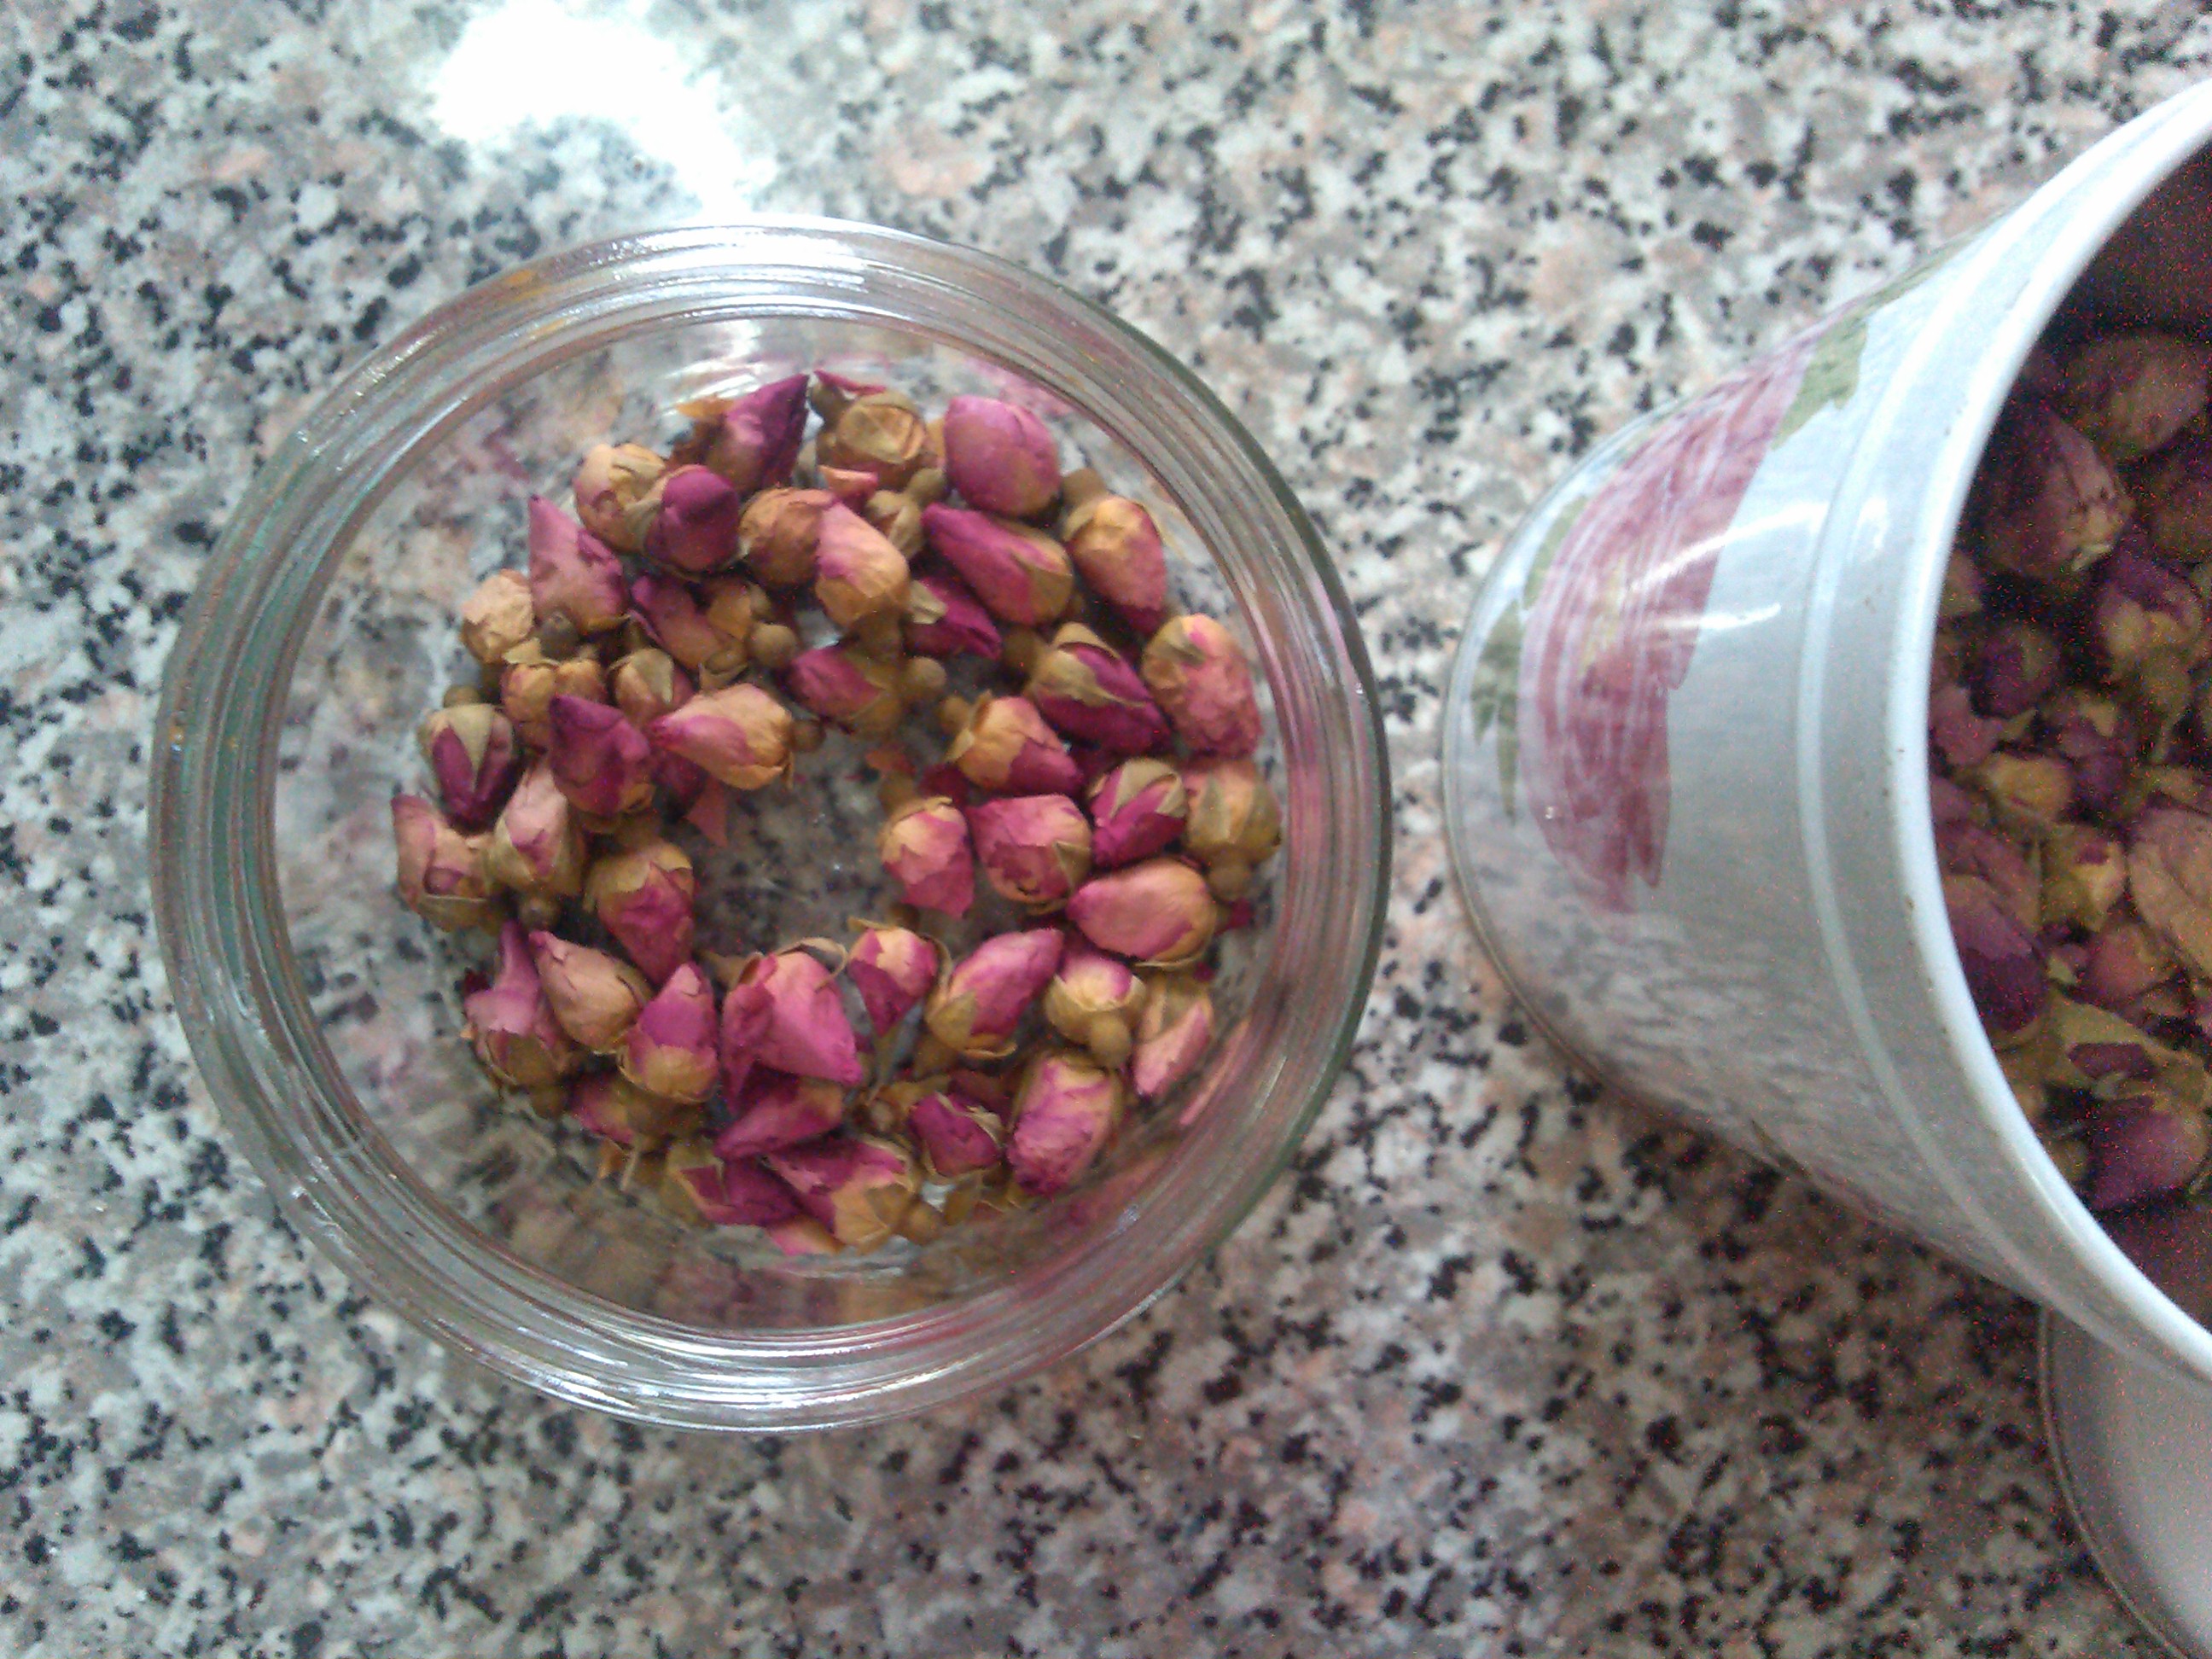
-lavender and dried rose hips

lavender rose mint scrub

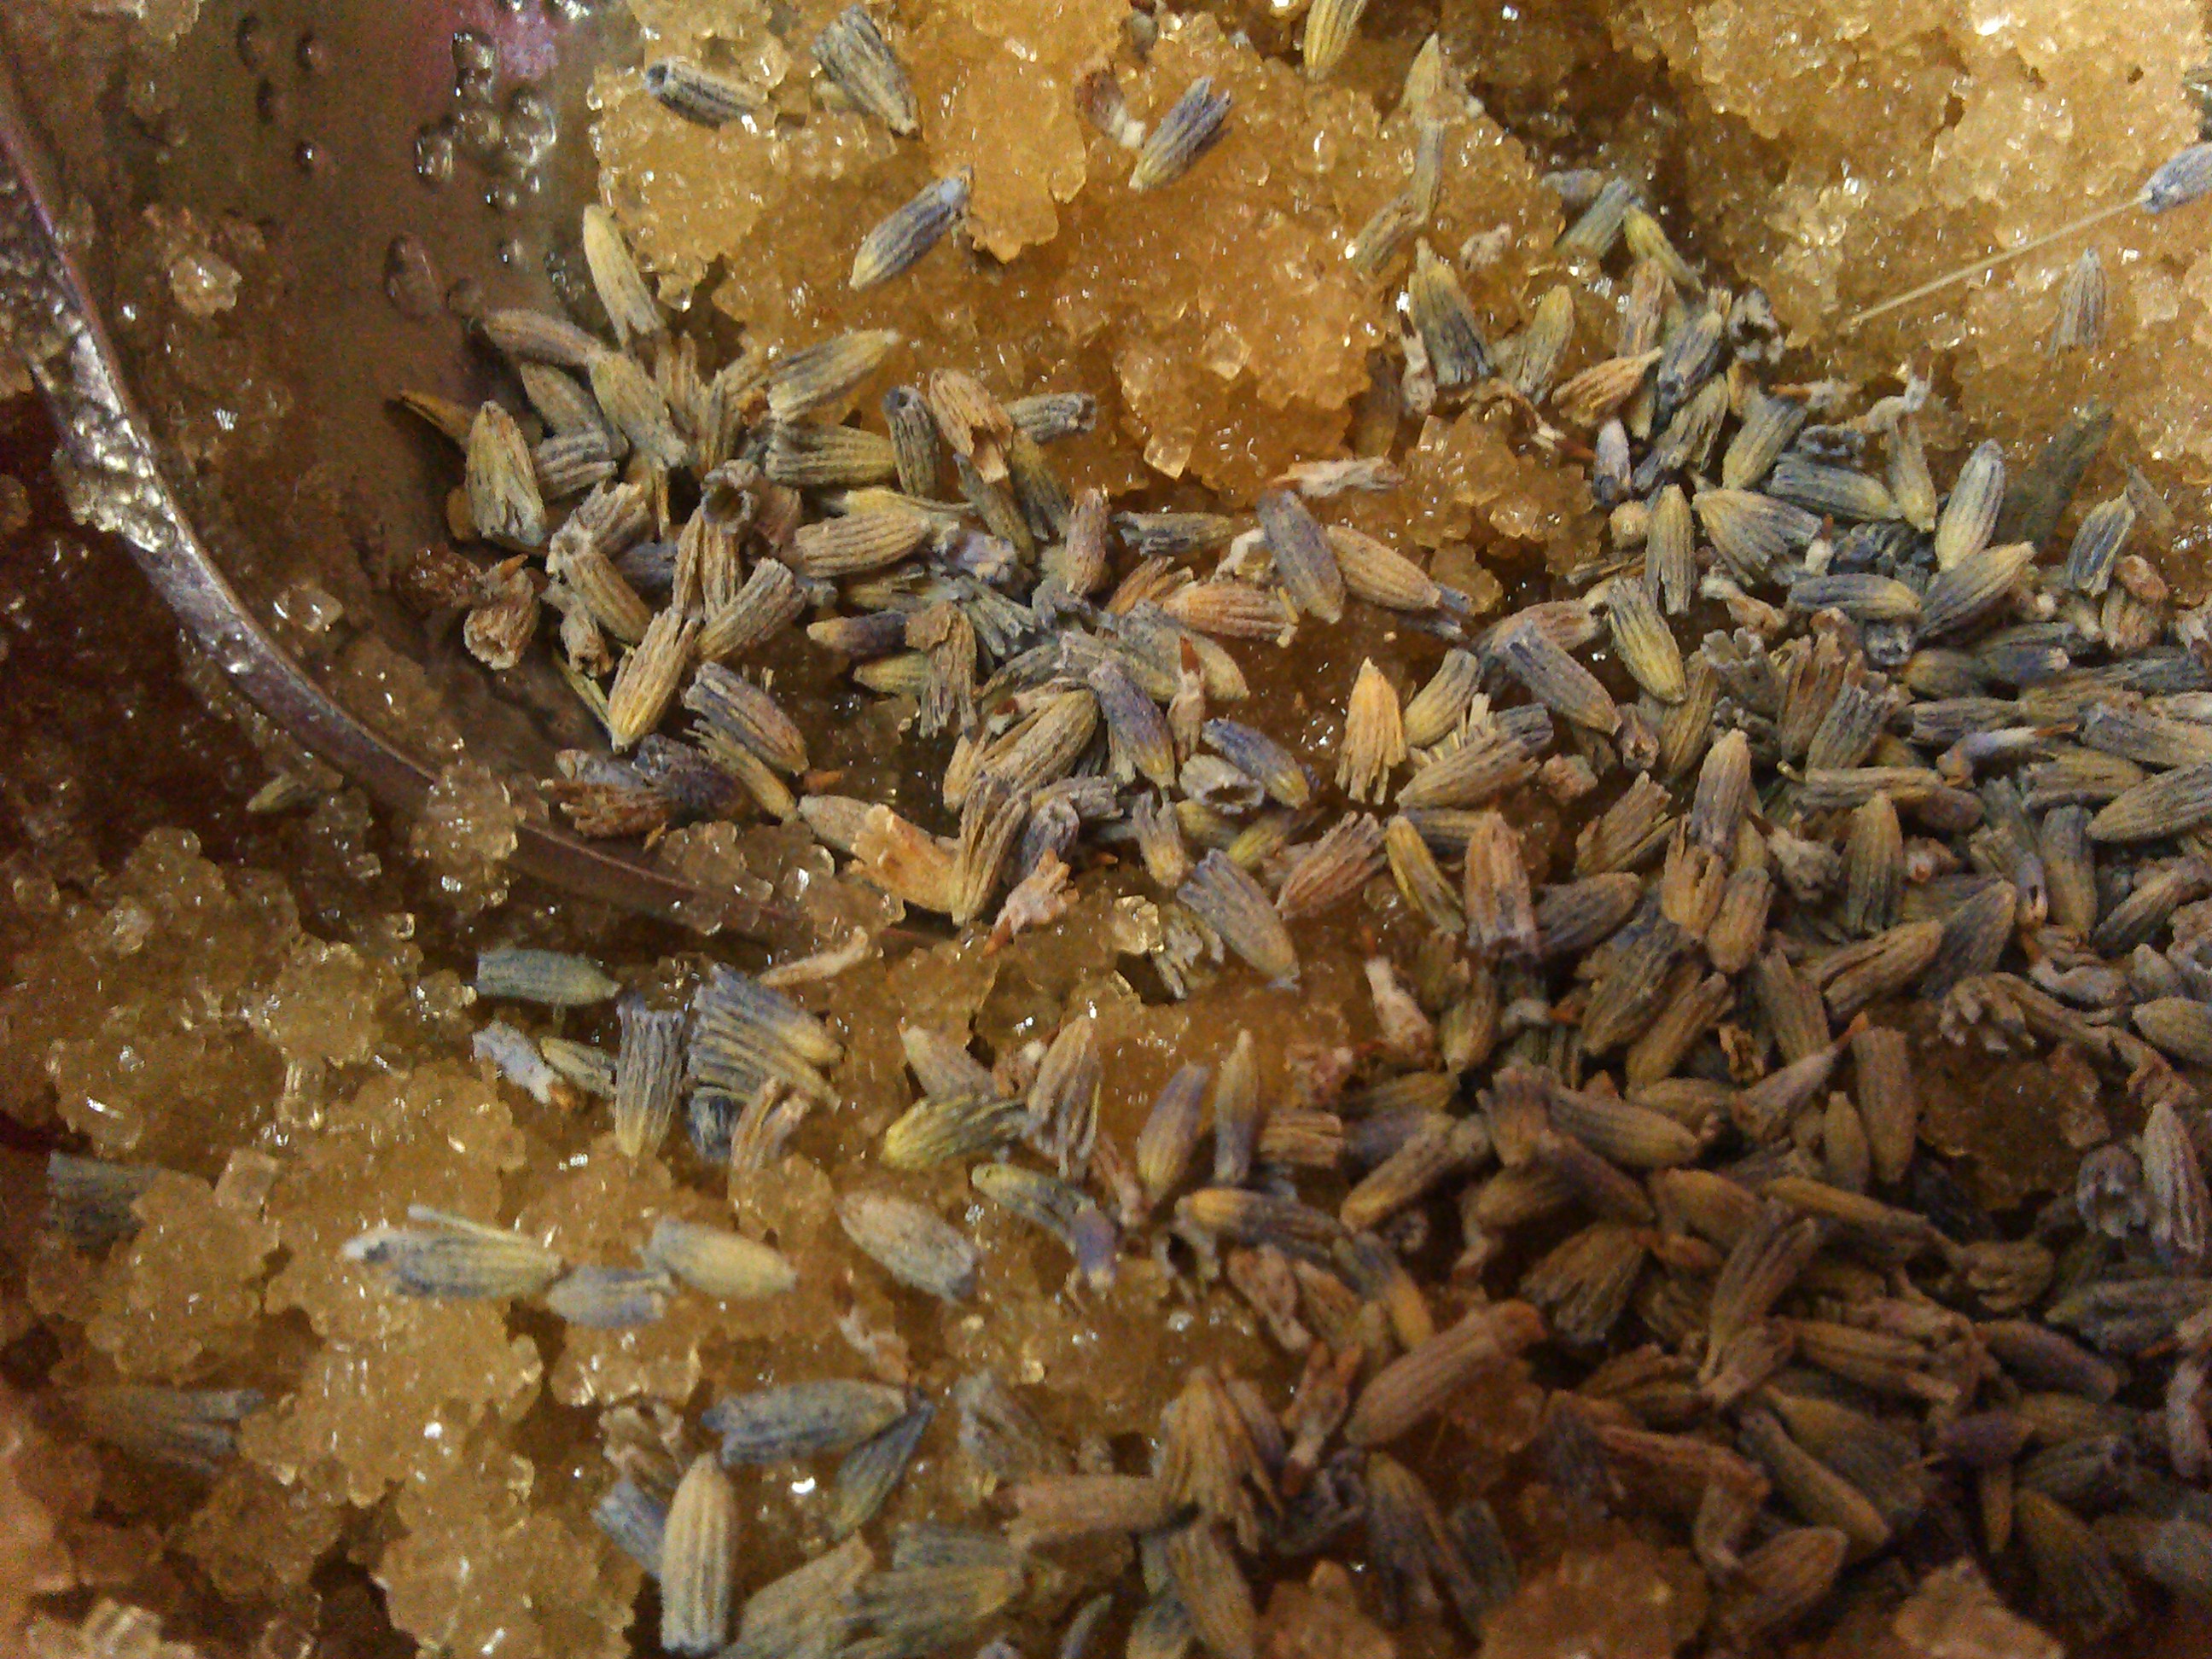
Heat some water in a sauce pan and place the coconut oil jar in the water. This will quickly soften up the oil without the need of a microwave! Measure about 1/3 cup of coconut oil and place in a bowl. Slowly add the sugar, until it starts absorbing most of the oil. I say it will be about a 1 cup. If you pour too much sugar and it becomes dry, add more oil!

lavender rose mint scrub

After mixing the sugar and coconut oil, add the peppermint oil essence. I used about 20 drops of oil. Start with a little less, and keep adding until you find the perfect balance.

Add the Lavender! I suggest about 1 to 2 tablespoons, and mix it all up.

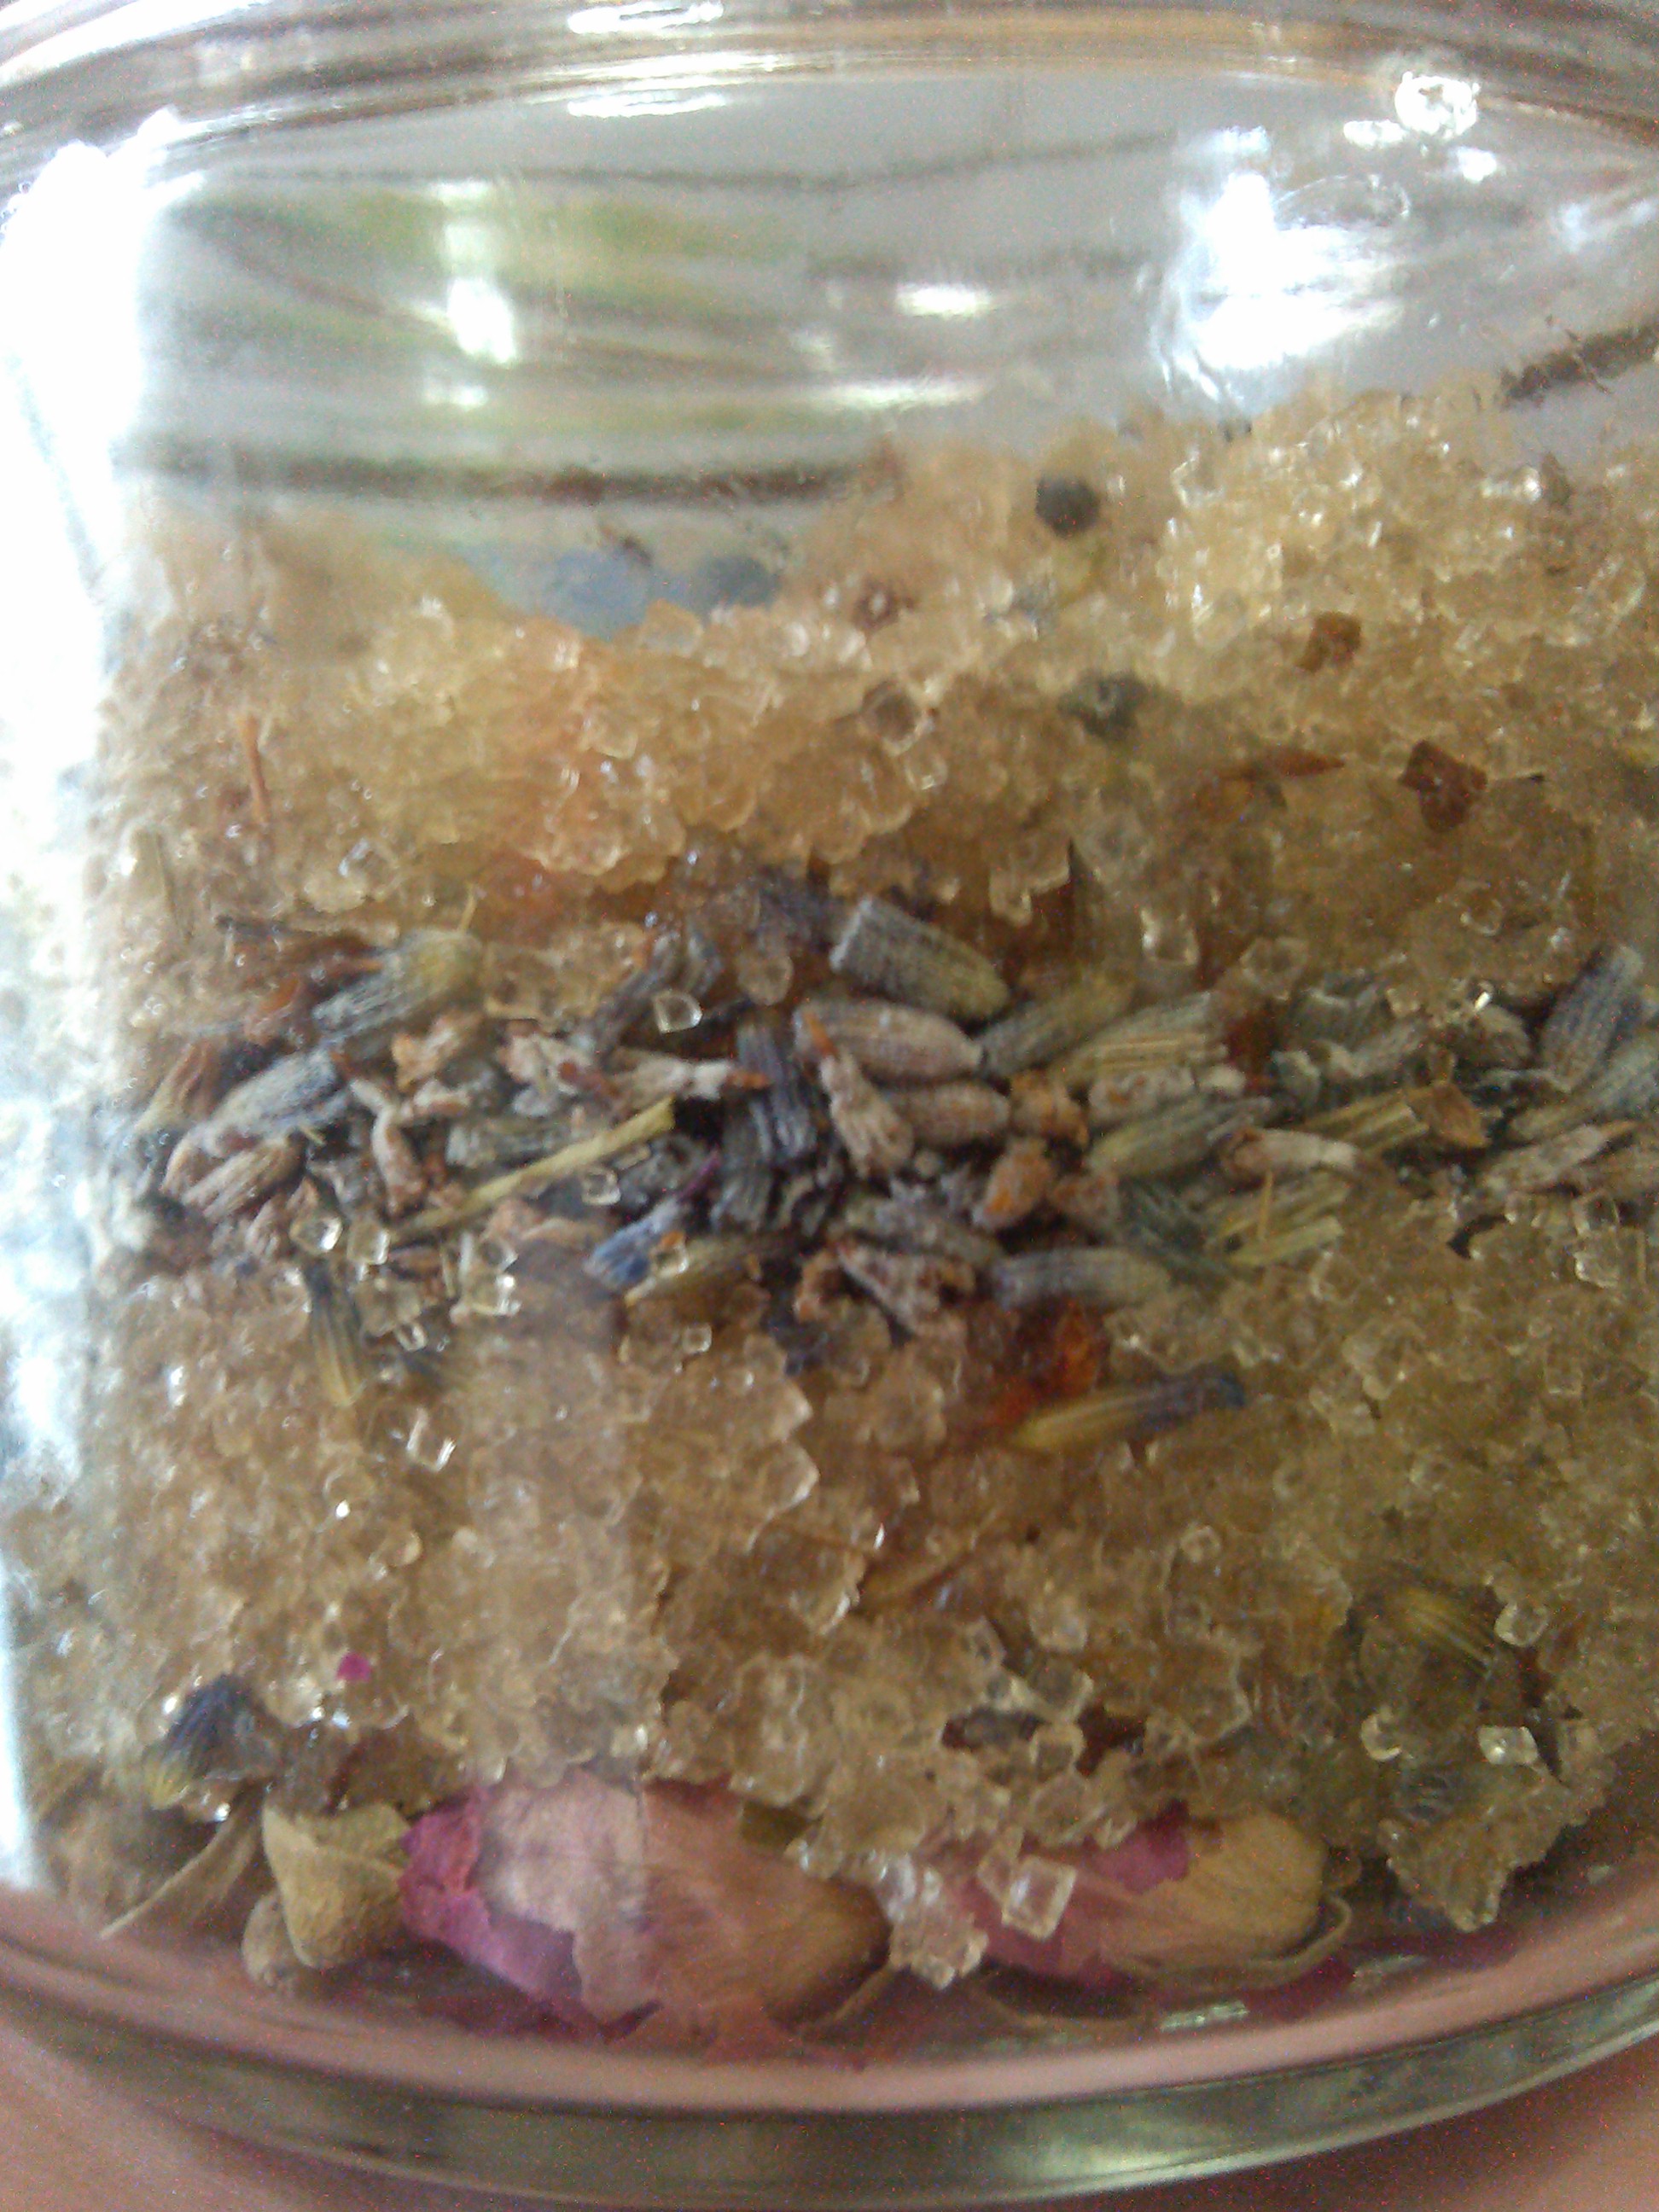
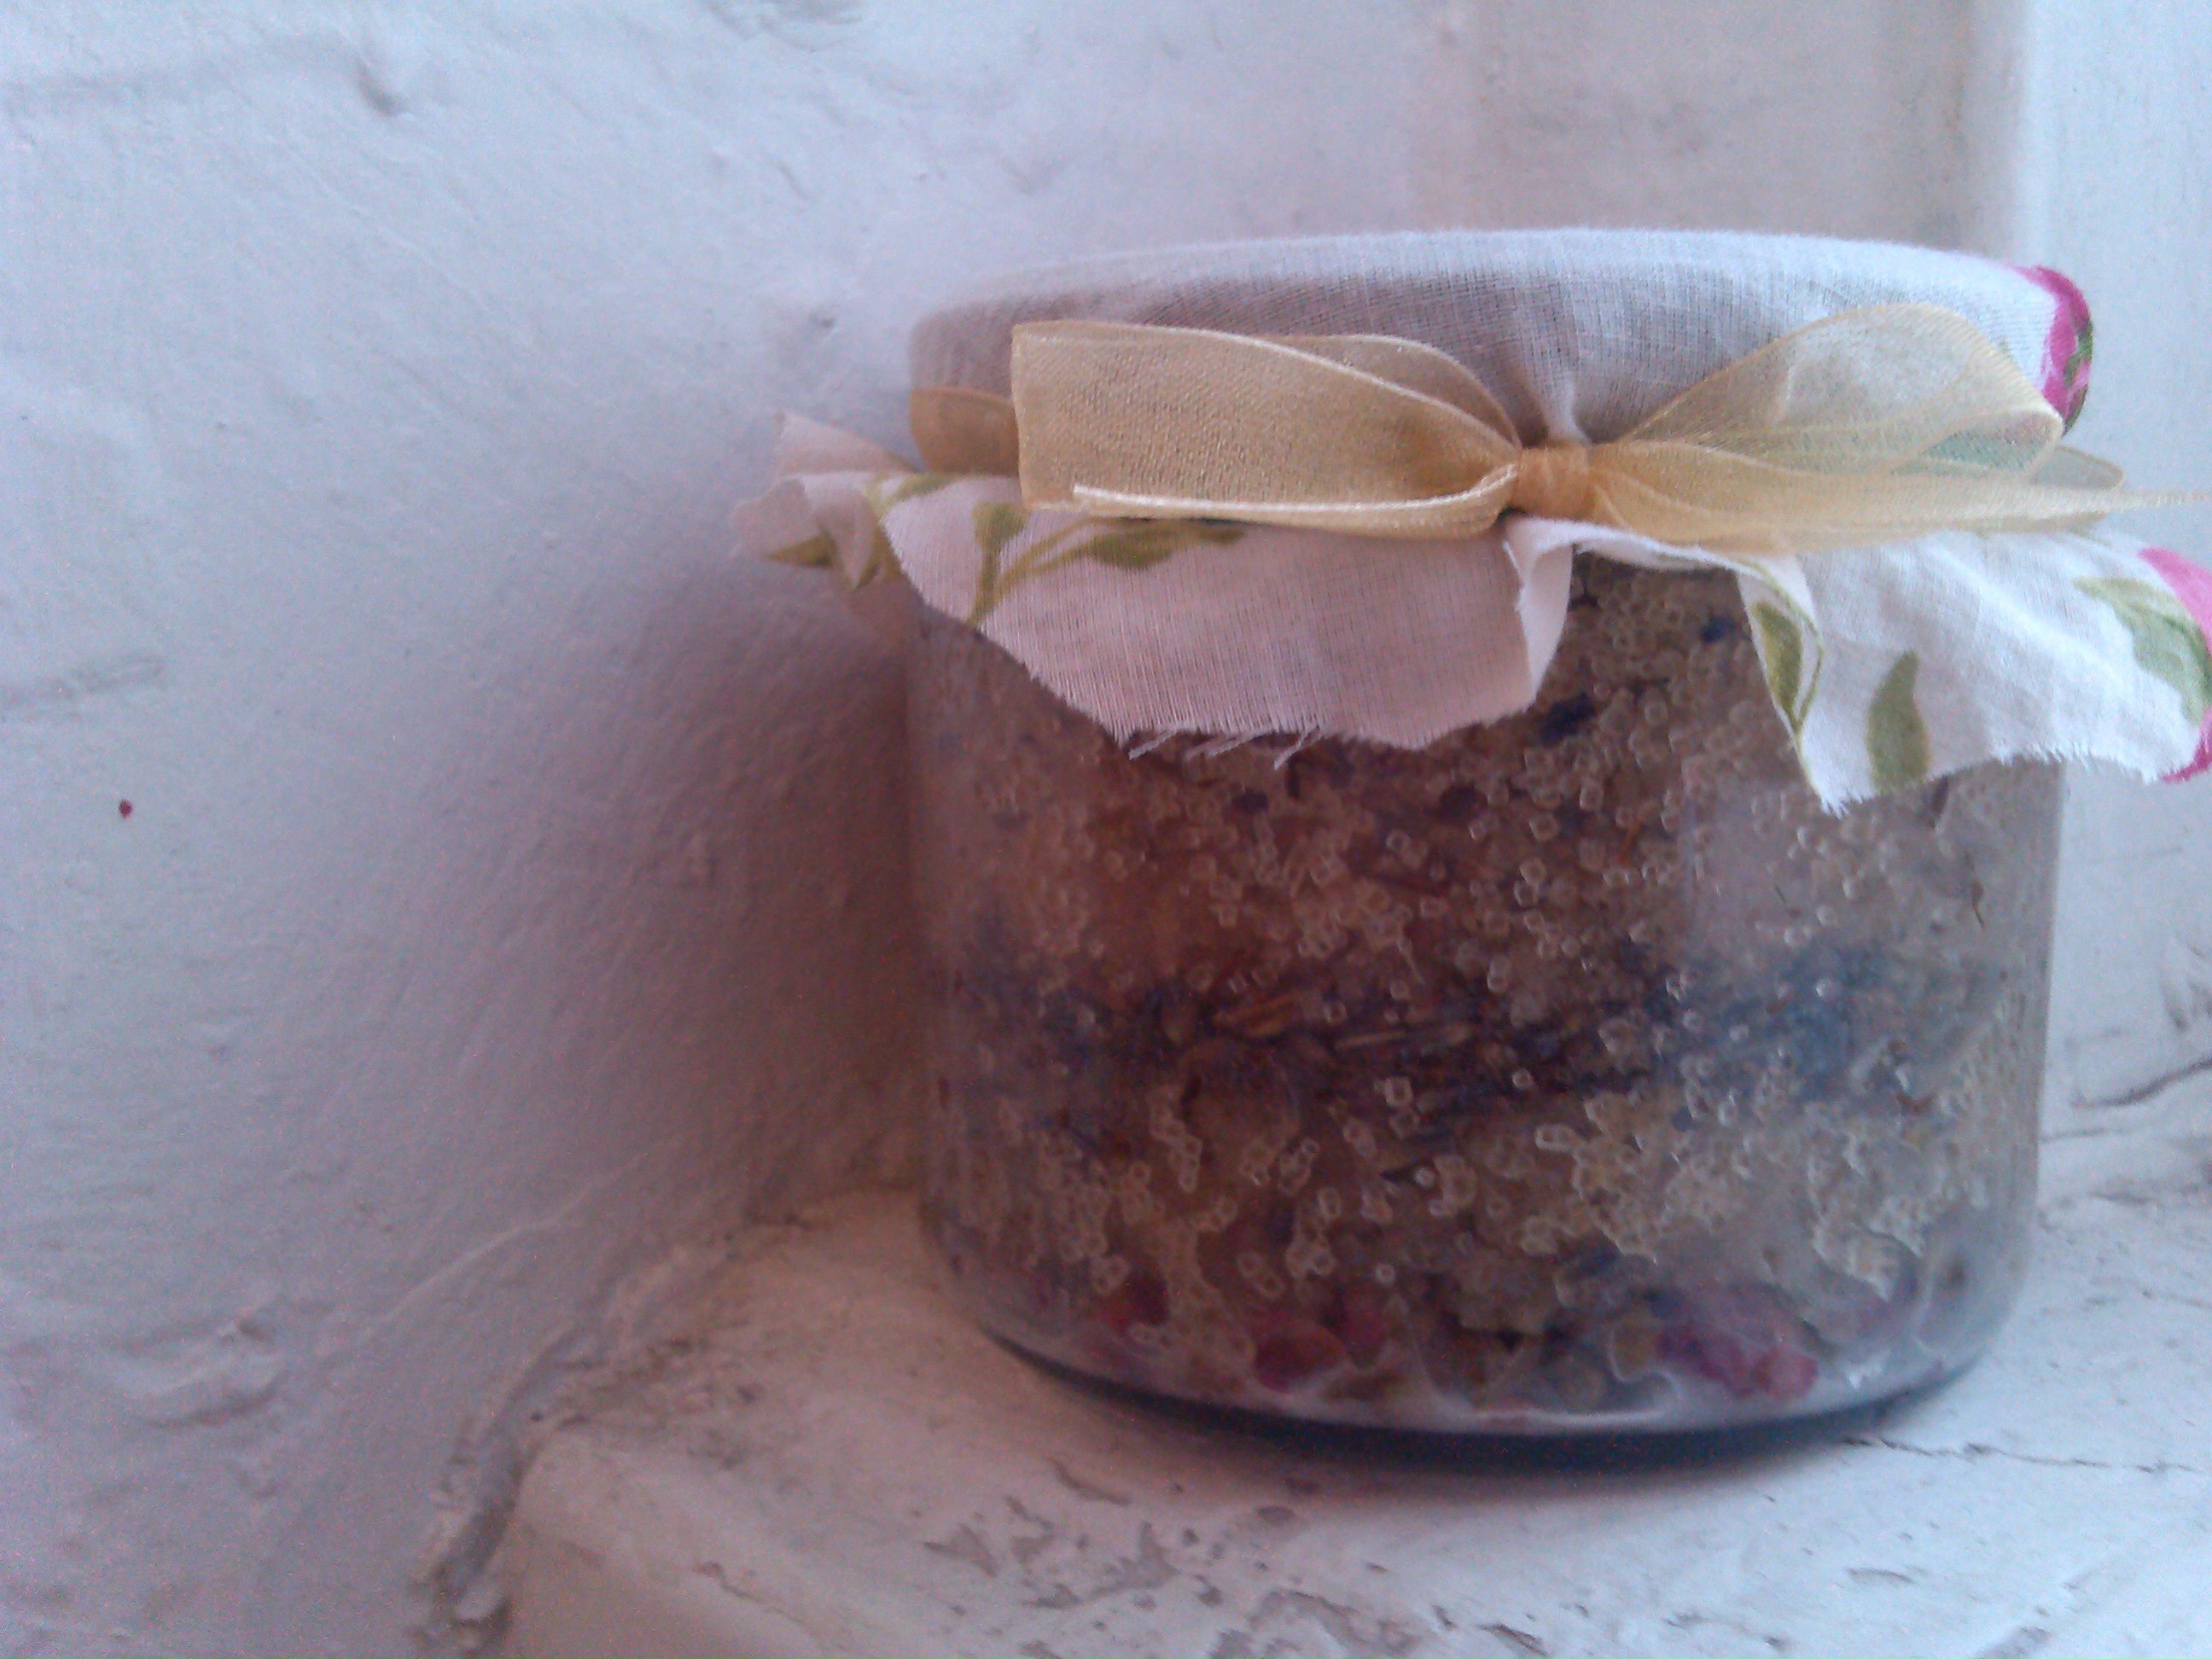
After you have the perfect scrub, line the bottom of your glass jar with rose hips. This is a nice little detail, and it looks beautiful at the bottom of the jar! Once the scrub is in, the roses will also absorb the oil and you can use them as part of the scrub too.

lavender rose mint scrub

After the layer of rose hips, I added a layer of the scrub and filled it half way. Then I added a layer of lavender, placing the dried lavender on the outer edges of the glass so you could see it better. Then add the second layer of your scrub, and once again, one more layer of lavender. I placed three rose buds at the top so when Mushpa opened it, it looked oh-so-very-nice!

lavender rose mint scrub

Close the jar. Cut a round piece of fabric, place it on the lid and hold it down with a rubber band. Then add the ribbon….. perfect!

lavender rose mint scrub

Happy Birthday Month Mi Mushpa!

❤❤❤

-Mensa

Sewing Around the House: A few easy projects!

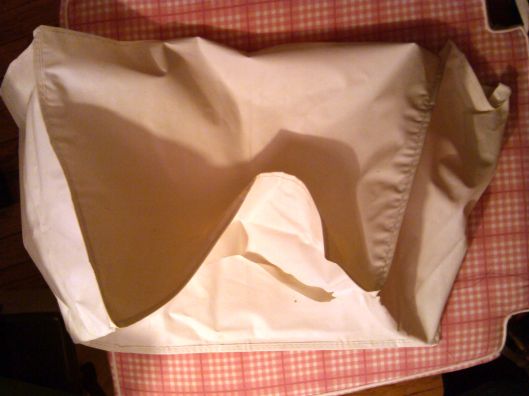
I’ve been friends with my sewing machine for a bit now, and we have grown closer over the past year. I have kept her near me and loved her very much, but one thing is that I have not been very good about covering her. One reason is because I have the old  (ugly) plastic cover that it came with.
mushpa mensa sewing

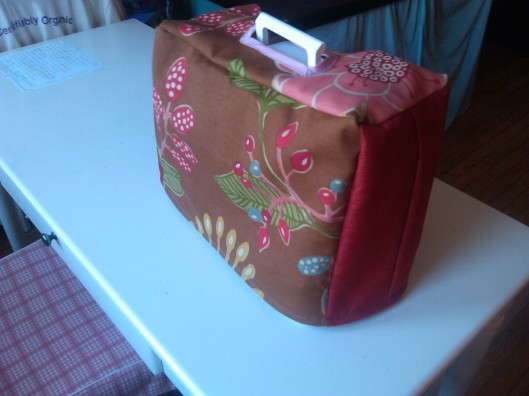
I got inspired and decided to make her a little outfit using refurbished material and gifted fabric! Now my sewing machine is not so cold, wont get so much dust, and actually looks pretty!
sewing machine mushpa y mensa

Tip: I used the old plastic cover to draft and cut out the pattern pieces to make the sewing machine cover. You don’t need a pattern as long as you have the old cover. If you  are not afraid to go for it, you can just measure the height and width of your machine and make five rectangles to sew together!

For this project, I  also used  as a guide this sewing book that I like very much, the Sew Everything Workshop: The Complete Step-by-Step Beginner’s Guide. It is written by Diana Rupp, and it is fabulous for people getting into the sewing world. It comes with patterns, instructions and lots of practical information about different fabrics and tips as well as historical facts and fun sewing projects.
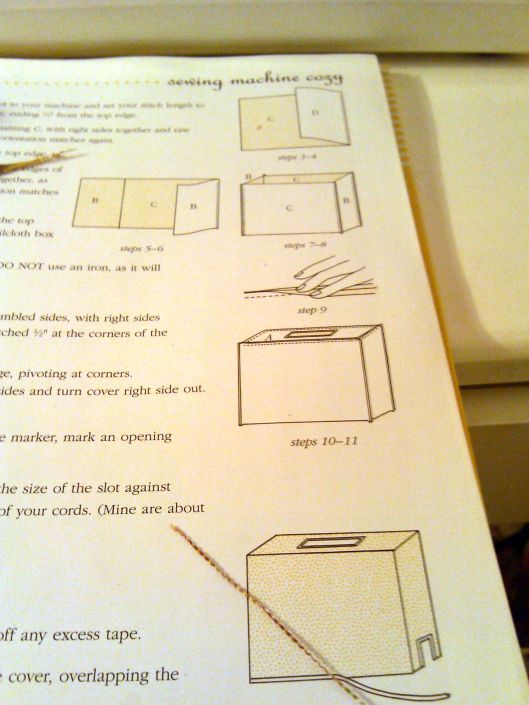
sew everything workshop diana rupp

This book was part of a gift from Mushpa, who not only included the book, but a class to sew a “Naughty Secretary Skirt” with Ms. Diana Rupp herself! If you live in NYC and want to practice some guided sewing, check out the Make Workshop for amazing classes of  all types!

Tip: Get a sewing book. There are TONS out there. I have a couple that I use as reference all the time. I think it’s helpful for little details, how-to and random information. Any time I get stuck in a project, or need inspiration, I look at them. Also, if you can, take a sewing class. It really helps with understanding the process as a whole, and you get to hang with other sewing aficionados!
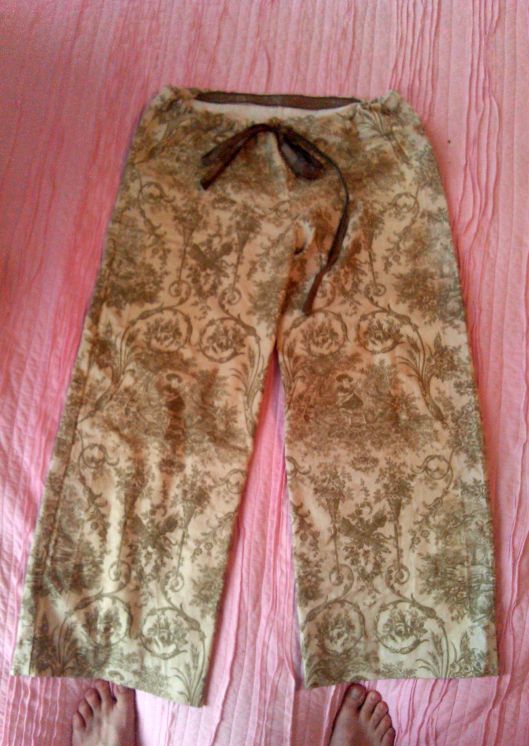
make everything workshop diana ruppI also got inspired and made some new yoga pants as well using this book! With some risky adjustments to the pattern, I had just enough scrap fabric to make some  new pants by refurbishing old curtains! Sound of Music anyone?

Fortunately the adjustments that I made to the pattern were fine, and I was able to cut the pieces just right!I thought the fabric would be OK to wear these pants out in public, but they ended up looking too pajama-ish! That’s OK though, because now I have some super fancy pajama pants!

Tip of the Universe: If you have almost enough fabric, but not quite enough, try hoping for the best when doing pattern adjustments! I literally visualized and prayed to the universe that the adjustments I made to the pattern would work… With a little faith, anything is possible!

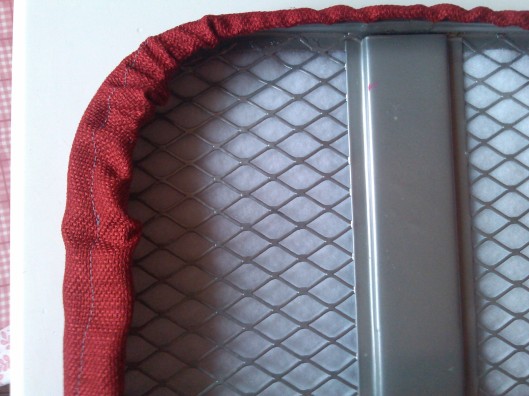
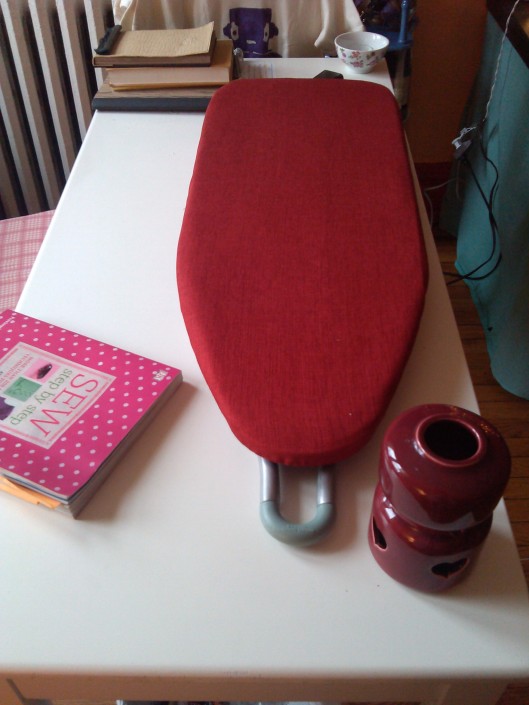
Finally, the last project for the house I sewed was our darling ironing board. The old cover was gross and old… This was a very easy project though. I pretty much traced a pattern around the ironing board and left a good 4 inches or so of seam allowance.
sew an easy ironing board cover

Then I folded the seam about an inch and sewed it down in order to leave a space for a cord to run through the seam, and left an inch wide opening to be able to pass the cord through. After attaching safety pins to the cord, I pushed the cord  through the seam and covered the ironing board. Pull tight and knot it at the end! Not so bad huh?!
sew an easy ironing board cover

Updating our home, one sewing project at a time!

Much love,

-Mensa
Don’t Eat Your Food Dyes!

If your food dyes don’t come from naturally derived sources, we say it’s better to keep them off your body! If you still have some around…then….

DO AN ART PROJECT!

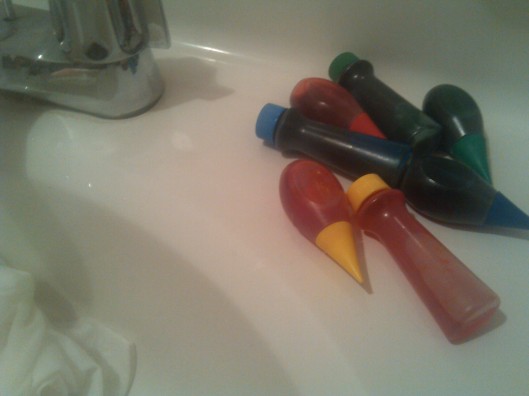
1. Find your colors and add hot water to a container or sink.

Food Dyes for crafts mushpa y mensa

2. Add vinegar or salt or any other mordant to make the dye stay on the fabric.

Food Dyes for crafts mushpa y mensa

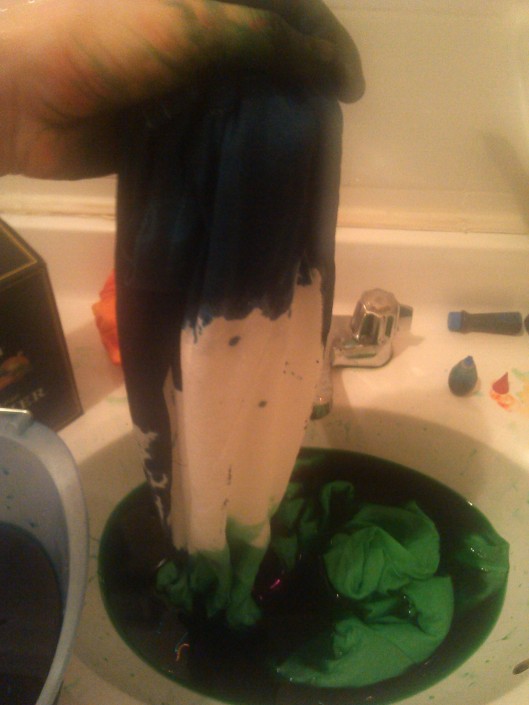
3. Dip the shirts in and let the fun begin!

Food Dyes for crafts mushpa y mensa

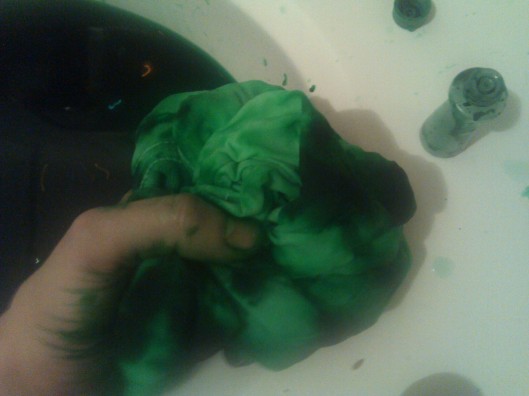
We played around with different colors and techniques, but it gave us a definite hippy tie-dyed look! Totally ….

Food Dyes for crafts mushpa y mensa

You can let the shirts sit in the dye anywhere from 30 minutes to an hour. This was an experiment for us, so  the results will come in soon!

Food Dyes for crafts mushpa y mensa

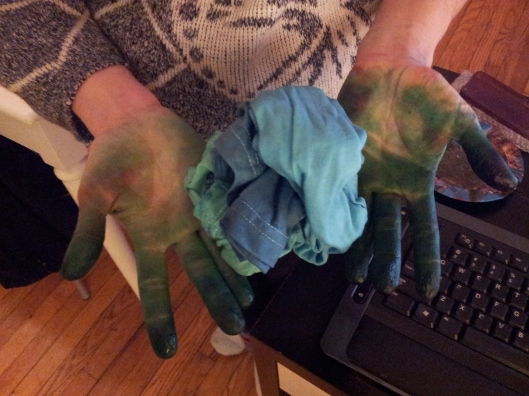
And this is what our stomachs might look like when we drink the Kool-Aid… gross!

So don’t…

Use your old dyes on things that won’t die!

-Mensa

Before January ends….Re-Calendar!

In the time it takes you to get in your car, subway or bike to the office supply store to buy a calendar, you can easily make a calendar for the new year yourself! For free if you have the supplies, and Eco if you reuse old paper and use supplies from home!

mushpa y mensa

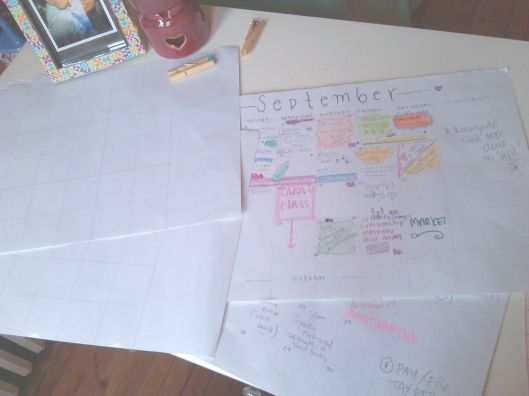
We did this half way through last year, and last week we took the old calendar down, flipped over the old pages and drew new lines for the new days and months of the new year!

Steps.

1. Find any 18×10 inch paper or card-stock. We had some around, and it turned out to be the PERFECT size.  You can make a smaller too, just make sure you divide it in 7 equal parts for the days of the week.

2. Using a ruler, mark off every 2 inches on every side, and draw vertical and horizontal lines to make the little boxes. This size was perfect for 7 days (each day was 2×2 inch squares) and it left a nice (2×4 inch space each week) for additional “notes”.

mushpa y mensa

3. Mark the days of the week with a marker, and while LOOKING CAREFULLY at a calendar (I looked on my phone) mark the days down when the month starts, through its end.

4. Add some colors and decorations….and any special dates you may wish to remember….and you’re done! : )

Happy crafting!

-Mensa