Category Archives: How-To

The 100th Post of La Mushpa y La Mensa

Jefe Helping
Jefe Helping…

Mensa and I are always talking about consuming less, needing less, getting rid of excess. Things that anchor us to one place be it literally, monetarily or mentally.

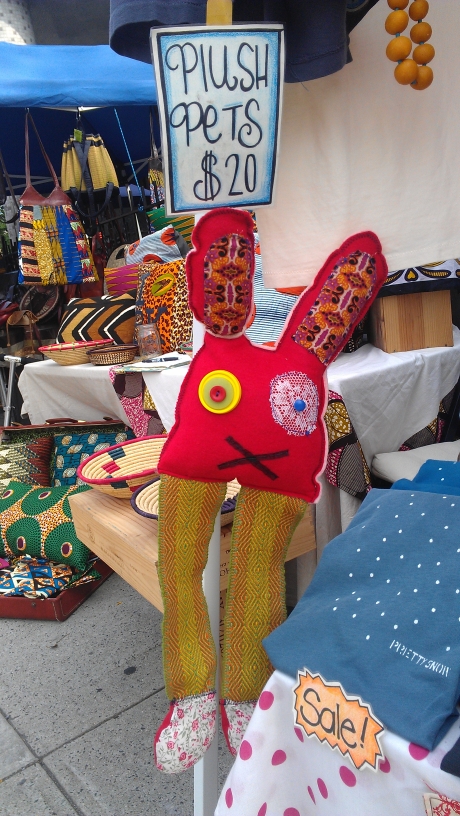
We do little things like take our worn out old clothes, wash them and then cut them into a million little pieces to stuff our Plush Pets…

Plush Rabbit
Pierre, the Lavender, Recycled Fabric, Eco-Felt Plush Pet

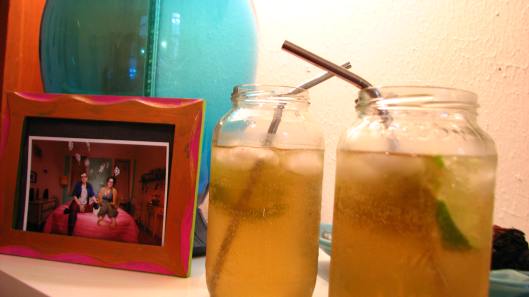
…or make some deeelicious seitan from scratch, while whipping up some organic, coconut oil based mayo… I personally am extremely gifted in mixing alcohol with almost any “leftover” liquids (frozen or flowing) and it tasting like nothing you’ve ever had before (in a very good way).

Drinks on Me
Cocktails Anyone?

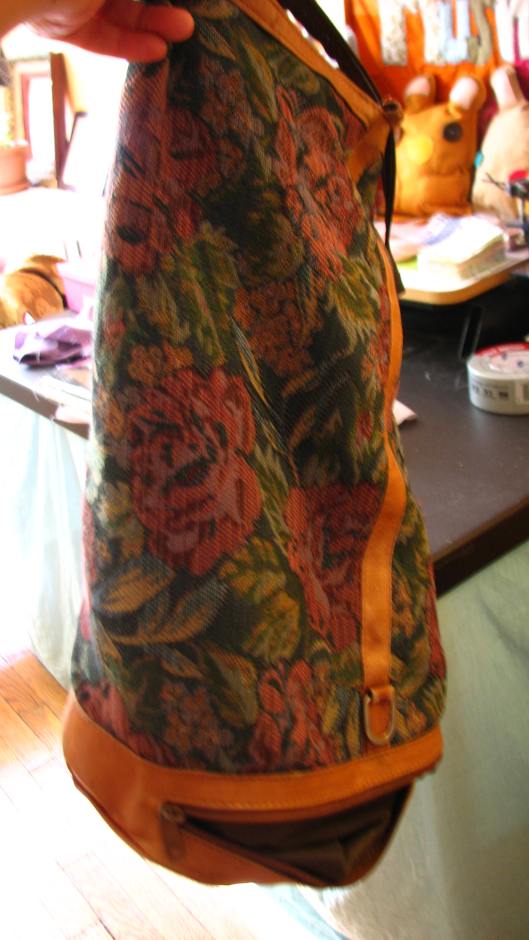
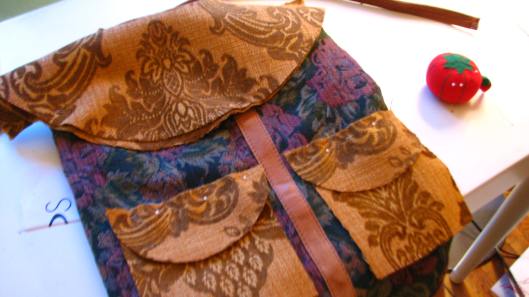
Some bigger things are Mensa creating an amazing backpack out of an old bag, after her million year old bag disintegrated right before our very eyes. The very backpack we packed with soy milk (something we have talked about learning how to make since we consume so much of it…stay tuned) and such this weekend after working in the co-op (don’t ask). We biked over 8 miles and this revitalized beauty made it through like a champion!

The Bag
The Bag That Rocks

We also made our fantastical Mushpa y Mensa cloth sign out of old pillow cases and fabric pieces. See below…

Mushpa y Mensa Sign
Mushpa y Mensa – Arts Not Crafts!

We are making it happen more and more every day, but we need a challenge….something to keep our momentum soaring towards our destiny. What we came up with is…well let’s start slow, why don’t you get to know us first…see what we mean when we say “from scratch”.

From the Inside
La Mensa’s Robot Girl With a Twist

We are here for a reason, all of us. Let’s make some stuff together, see what we think, then figure something out. Let’s connect as they say, in a good way.

This is our 100th blog post and the start of something gargantuous! :] Life, as La Mensa would say is, “pretty bad-ass.”

– La Mushpa

More Name Cards!

At the Mushpa y Mensa studio making more name cards!

image

We are still making them by hand and each one will be unique like the other. This time we are making the process much more efficient so we can spend less hours making them (at least five hours each set before) and spend more time, as Mushpa would say, crafting other amazing art!

With love,

Mensa

Mini-Sewing….A Teddy Bear From Scratch

I went to visit my family this week in VA, and of course there had to be craft time with my small siblings. What better thing to do than sew a stuffed animal with Isabela’s mini-sewing machine!

diy kids sewing patterns

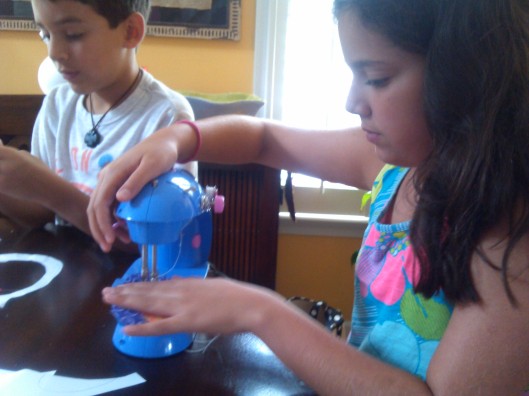
It’s no industrial serger, nor does it even come close to stitching zigzag or reverse stitches….but it gets the job done! It was actually trickier to figure out that my own machine! After getting to know it though, Isabela, Abuela and the rest of the crew (aka Juan Lorenzo) sat around the dinning room table learning step by step how to make a little bear.

Steps we took.

1. Isabela sketched out a simple drawing, including the fabric that she would use for the body, tummy, ears and face or her bear.

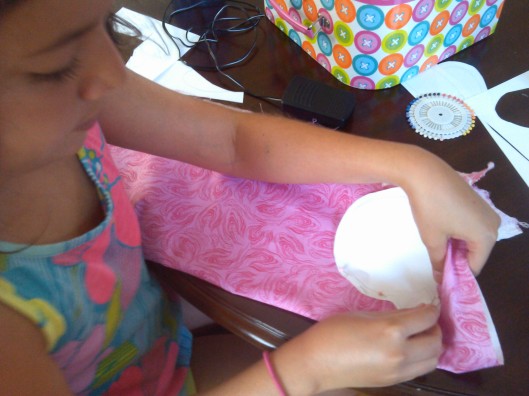
2. We drew a simple pattern for the bear and she cut it out and pinned it to the fabric. She cut the fabric and began to pin the pieces together.

diy kids sewing

3. We found some old clothes, y la Abuela helped us cut out pieces of scrap fabric to use as stuffing for the bear. We also heard stories of la Abuela’s first sewing machine, which was operated by foot, and later adapted to sew with a small motor inside. : )

diy kids sewing

Then the sewing began….

It got a little tricky at times, but Isabela got the hang of it pretty quickly.

kids sewing

4. Finally we found some nice smelling tea leaves to stuff in the bear to give it a nice smell, and she closed  and hand-stitched the body and head together. Y listo!

Isabela made a bear, and Juan Lorenzo filled the cushion with pins and “sewed a tomato!”

If you mold kids minds, and teach them how to make their own toys, dolls clothes and whatever else their minds come up with, you will be surprised with what they can do! I was definitely impressed.

: )

-Mensa a.k.a. “Memi”

I Say, Stay In Air!

EASY PEASY!!!

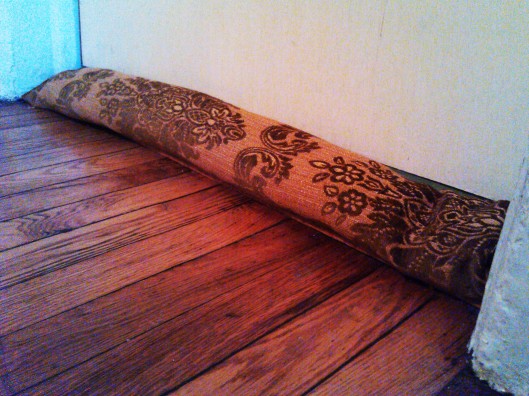
So a really easy and fast way to make a draft stopper for when you have the AC on and you don’t want it to leave the room in the summer, or you are stopping the chilli air from coming in into your warm home during the winter months.

Draft stopper DIY

Here’s whats up.

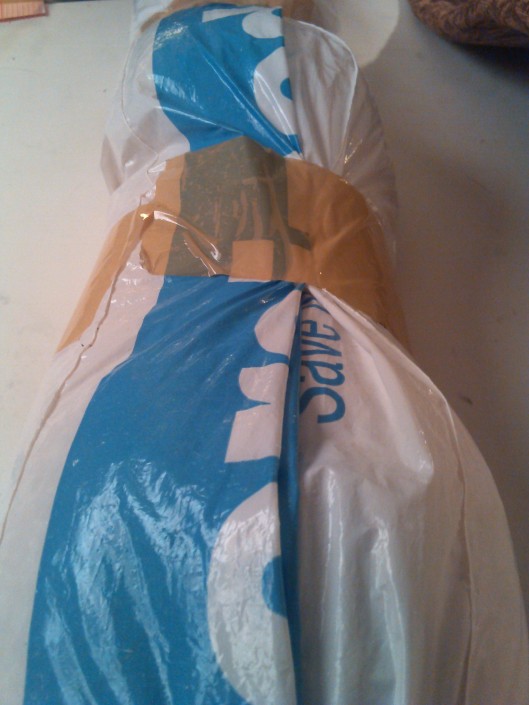
1. Find a long thin bag. Like a newspaper plastic bag. I got mine from staples where they stuff large prints in thin plastic bags. Fill it with rice and knot it/tape it on the ends.

DIY draft stopper

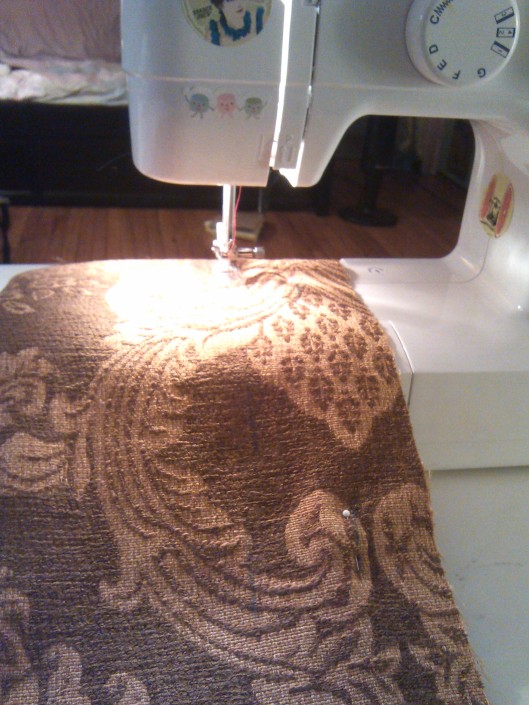
2. Measure around and trace a handmade pattern on a sturdy fabric that will not rip easily. I re-purposed fabric that I am using in my backpack project. A rectangle is straight forward and easy, so you won’t mess up.

DIY draft stopper

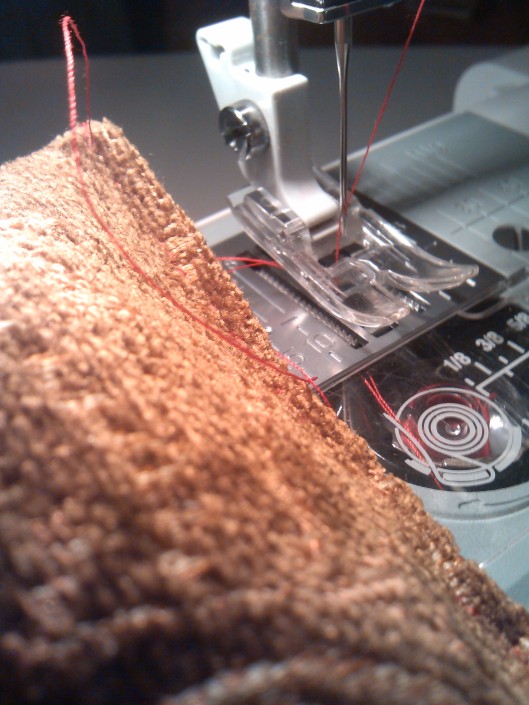
3. If you want, use a larger stitch (around 4) so you can flip it and see if it fits in your case. Once fitted, sew over the stitch with a smaller stitch and finish it off by sewing the ends and VOILA!

DIY draft stopper

Like I said…Easy peasy!

-Mensa

Making some Organic Mayo….with Coconut Oil

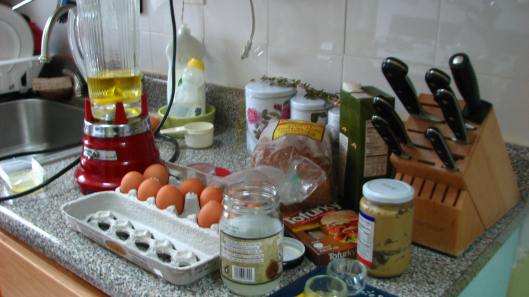
We bought a jar of coconut oil at the super-market the other day.

It was a bit hard to find a good use for it because even after trying some recipes, it of course didn’t behave like the olive oil which we use regularly.

I did use it as a hair mask, which was nice, but there was still a lot left on the jar….

So out came the idea to make Mayo with coconut oil. I looked up some recipes and it is totally possible and doable.

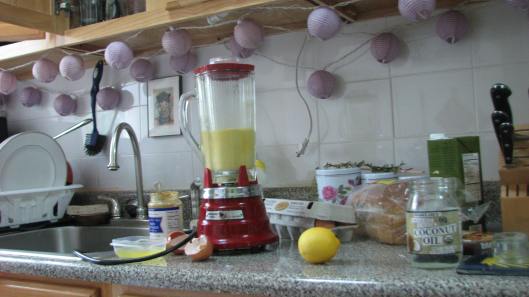
homemade coconut oil mayo

We used…..

  • 1 whole egg
  • 2 egg yolks
  • 1 tablespoon of fancy mustard
  • 1/2 a lemon’s juicy juice
  • a good pinch of salt
  • some pepper
  • 1/2 cup of Organic Coconut Oil
  • 1/2 cup of nice Extra Virgin Olive Oil

Disclaimer.… if this is your first time making mayo (like it was mine), be careful and do it EXACTLY as the instructions tell you… After you learn, then you can experiment. I  should have done so…


homemade coconut oil mayo

Do the following:

  • Mix your two oils together.
  • In a food processor, blender or bowl (if you are hand whipping with a whisk grandma-style) mix the eggs, yolks, mustard, lemon juice and condiments.
  • After all is nice and even start adding DROPS of oil to your mixture and continue the blending and whisking process. *** this is where I messed up***…If you add the oil too fast, the mixture will curdle and you’ll end up with oily egg juice… So sad.
  • Keep adding drops until it turns a lighter color…you will be able to tell if they start mixing well.
  • SLOWLY add little streams of oil and continue to blend…and just keep doing it slowly, oh so patiently…
  • After you are almost done with the oil (about 1/4 cup left) you can speed it up a bit if using a blender, and add the rest of the oil. It should start to become a heavier mixture….continue on until its silky smooth.
  • Let it set for 30 minutes in the fridge.

homemade coconut oil mayo013-06-25 12.09.14

*** IF YOU MESS UP***

I saw many posts and recipes say how you could not save your mixture if it curdled….NOT TRUE!  You can mess up and still have delicious mayo!

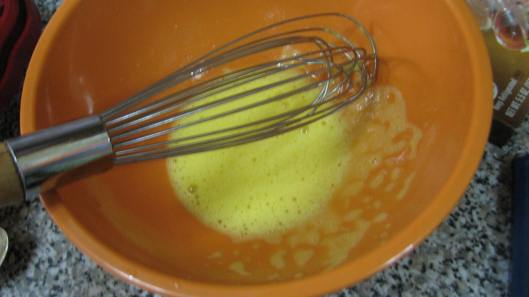
Since I had done it the first time in the blender and messed up, I decided to hand-whip it.

homemade coconut oil mayo

I added another egg yolk in a bowl and whipped it….and to that base I started to add the droplets of the curdled mix slowly, whipping it by hand. I followed the instructions clearly this time, and poured the messed up mixture in without having to throw it away! And it worked!

FANTABULOUS Home-made, coconut oil mayonnaise.

Since it’s home-made, with NO preservatives and whack ingredients, it only keeps in the fridge for about two weeks or less….but its worth it!

YUMMMM……

-Mensa

Out with the Old…In with the Re-vamped!

So my backpack was on its last strides… I have had it for seven years and it has served me well. It had been to many places around the world, including little towns in Italy, many Christmases in Ecuador, and it carried everything from heavy college books, community organizing flyers and papers as well as our regular weekly groceries. She was definitely a trooper.

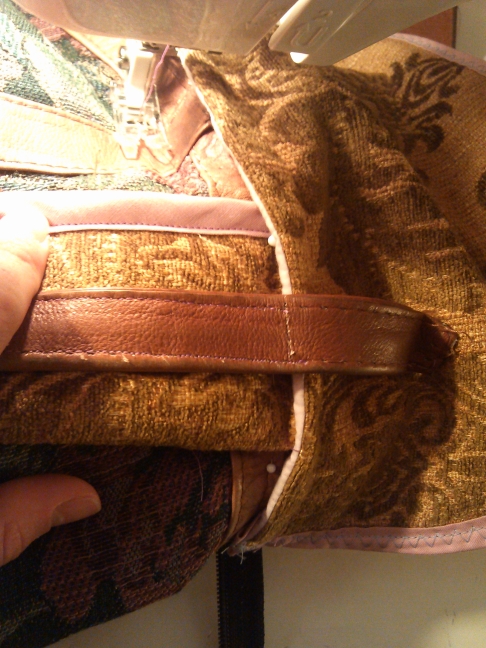
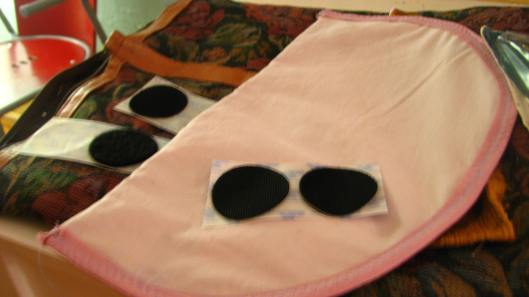
So now I need a new backpack…. And what better way to keep it real than to bust one out yourself! So instead of buying a bag, I’ve decided that I will make it! Not from scratch, BUT I will re-vamp a small bag I had,. I’ll add  a couple of pockets, new heavy duty straps, a new flap with velcro….all done with my little hands!

So far it’s been a challenge. I didn’t think it would take so long….but it is not as complicated as it seems.

I had the foundation….

DIY Backpack

It’s a backpack with “ugly grandma fabric” but I think it is still very cute. I exchanged it with my sister in a clothes swap. It had a funny zipper an the straps were broken down from so much use.

DIY Backpack

I measured everything and sketched out a drawing of what it would look like with approximate measures.

The seam-ripper was my best friend for a couple of hours….while I un-did the previous straps, the zippers and the lining in order to have full access and revamp all the necessary details.

DIY Backpack

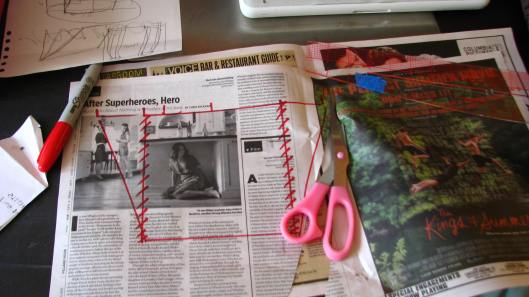
Since I had the foundation, I cut out patterns for the POCKETS, the FLAP, and the STRAPS. I didn’t use an offical pattern for the pocket or flaps, and I instead free handed the drawing making little updates as I moved along! I did use a pattern online for the straps through, and drew with the measurements given the two straps using newspaper.

DIY Backpack

I cut out all the main pieces and placed them with pins to see what it would look like…. it’s resembling something fancy now!

DIY Backpack

Using some bias tape, and an old pillow case for the lining, I finished the main flap, and the small pockets…. and so far its looking good.

This is the first update, but I will post the finished product once I am done this week.

Mushpa and myself have been having conversations about a bigger and better project in relation to this backpack. We have been asking ourselves…. Why not make it?

If I need a backpack….and we have the capable hands and tools to make it ourselves, then why not make it!?

It makes sense, right?

Now on to the finishing this beauty….

Until next time!

-Mensa


Happy Photoshootin’

A nice afternoon, two cold and delicious ginger lemon cocktails, a bright colored wall, some nice shirts and your everyday fire escape was all we needed for an amazing photo-shoot.

easy photoshoot

To make something beautiful pop even more, I really feel like you only need a couple of essential things. And that’s all we used:

 Amazing light, music, and a nice camera…

easy photoshoot

Here’s a sneak peak to our latest photo-shoot….

easy photoshoot

cute….

easy photoshoot

boom!
-Mensa

Compost This! An Update…

So composting at our home has been…well, I’d say it’s a definite challenge. Doable? Yes for sure. Draggin rotting stinky food on the subway or biking with it (much better option) to the nearest farmer’s market and compost disposal unit, is definitely a task. But I think it has been worth it.

Frozen compost

There has been a couple of times where we got lazy, annoyed at the stink and threw it out in the garbage…guilty! Yet every single time we have gone and dropped it off at a compost site, it has made me take a sigh of relief and accomplishment. It feels good to compost, and it feels extra nice to be good to our Earth!

Last time when we dropped off the compost, I kept noticing frozen pieces of fruit and vegetables in the decomposing piles of veggies, fruit and grains. And then it dawned on me……

Duh! Freeze it!!!! Of course! Makes total sense. You slow down the rate of decomposure by sticking your compost bin in the freezer, and it reduces the smell and the hassle of cleaning by a “Fafillion” Percent!

compost frozen

So Do it! It makes it so much easier. Now next time we go to the farmer’s market to drop it of, we won’t be gagging cleaning the bin out every time. : ) That’s nice yo…

Until the next compost update!

-Mensa

“Queen of The Sun: What are Bees Telling Us?”

queen of the sun

In the fall of 2006, newspapers around the United States began to publicize a unnerving phenomenon. Honeybees were a mysteriously disappearing from beehives all around the nation. Dave Hackenburg, a outspoken beekeeper, and the first to raise a stir about the crisis, reported that bees were simply vanishing from his hives. That fall, beekeepers and commercial beekeeping enterprises around the country reported losses of 30% with some beekeepers reporting losses up to 90% of all of their colonies.

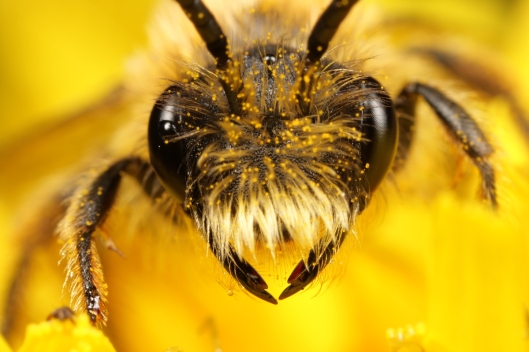
I want to post a quick review about this wonderful documentary, Queen of the Sun: What are Bees Telling Us?, and just an overall shout out to the hard workers who keep us fed and alive…The Bees in our world!

It is incredible how much I learned yesterday watching this, and it’s also a bit chilling to know that these little animals are at incredible risk of disappearing from this earth, and even more daunting, our system of agriculture disappearing with them. Meaning, we are at risk as well. Our whole ecosystem actually!

2439460646_e9fe39207f_o

From how bees choose their beekeepers, to laws banning communities from bee-keeping, to the mass production and mass destruction of honey and bees, this film really shines a light on these little workers that pollinate and do so much for us. Of course, it forms a full circle and goes back to the root of many of our agricultural conundrums in our world: Massive industrial agriculture and factory farming and how it is destroying our world. Can you believe that factory farmers actually feed CORN SYRUP to the producers of honey!?!?!  I found this disgusting, outrageous, and it hurt me so much.

So what to do to help bees? The producers, filmmakers and beekeepers that put together this film have given us helpful things that we can do to keep this beautiful little creatures in our world today. So let’s get started!

queen of the bees 

 1. PLANT BEE FRIENDLY FLOWERS AND FLOWERING HERBS IN YOUR BACKYARD  

Bees are losing habitat all around the world due to intensive monoculture-based farming practices, pristine green (but flower-barren) sprawling suburban lawns and from the destruction of native landscapes. Just planting flowers in your garden, yard, or in a planter will help provide bees with forage. Avoid chemically treating your flowers as chemicals can leach into pollen and negatively affect the bees systems. Plant plenty of the same type of bloom together, bees like volume of forage (a sq. yard is a good estimate).

Here are a few examples of good plant varieties: Spring – lilacs, penstemon, lavender, sage, verbena, and wisteria. Summer – Mint, cosmos, squash, tomatoes, pumpkins, sunflowers, oregano, rosemary, poppies, black-eyed Susan, passion flower vine, honeysuckle. Fall – Fuschia, mint, bush sunflower, sage, verbena, toadflax. For a great list of plants honeybees love click here

——-

2. WEEDS CAN BE A GOOD THING

Contrary to popular belief, a lawn full of clover and dandelions is not just a good thing—it’s a great thing! A haven for honeybees (and other native pollinators too). Don’t be so nervous about letting your lawn live a little. Wildflowers, many of which we might classify as weeds, are some of the most important food sources for native North American bees. If some of these are “weeds” you chose to get rid of (say you want to pull out that blackberry bush that’s taking over), let it bloom first for the bees and then before it goes to seed, pull it out or trim it back!

 ——-

3. DON’T USE CHEMICALS OR PESTICIDES TO TREAT YOUR GARDEN 

Yes, they make your lawn look pristine and pretty, but they’re actually doing the opposite to the life in your biosphere. The chemicals and pest treatments you put on your lawn and garden can cause damange to the honeybees systems. These treatments are especially damaging if applied while the flowers are in bloom as they will get into the pollen and nectar and be taken back to the bee hive where they also get into the honey—which in turn means they can get into us. Pesticides, specifically neo-nicotinoid varieties have been one of the major culprits in Colony Collapse Disorder.

——-

4. BUY LOCAL, RAW HONEY

The honey you buy directly sends a message to beekeepers about how they should keep their bees. For this reason, and for your own personal health, strive to buy local, raw honey that is from hives that are not treated by chemicals. It can be hard to find out what is truly “local” and truly “raw”–and even harder yet to find out what is untreated. Here’s a few guidelines: If you find it in the grocery store and it’s imported from China, don’t buy it. There have been a number of cases recently of chemically contaminated honey coming from China. If it’s coming from the grocery store, but it doesn’t say the words “pure” or “raw” and you can’t read in the description that it’s untreated by chemicals, don’t buy it. If it’s untreated, the label will say, as this is an important selling point. We recommend a simple solution for most people. Go to your farmer’s market and shake hands with the beekeepers you meet. There are beekeepers at nearly every farmer’s market selling their honey and other products. Have a conversation with them, find out what they are doing to their hives, and how they are keeping their bees. If they are thoughtful, respectful beekeepers who keep their bees in a sustainable, natural way, then make a new friend and support them!

——-

5. BEES ARE THIRSTY. PUT A SMALL BASIN OF WATER OUTSIDE YOUR HOME

You may not have known this one—but it’s easy and it’s true! If you have a lot of bees starting to come to your new garden of native plants, wildflowers and flowering herbs, put a little water basin out (a bird bath with some stones in it for them to crawl on does a nice trick). They will appreciate it!

——- 

6.BUY LOCAL, ORGANIC FOOD FROM A FARMER THAT YOU KNOW

What’s true for honey generally holds true for the rest of our food. Buying local means eating seasonally as well, and buying local from a farmer that you know means you know if that food is coming from a monoculture or not. This is much easier in the summer when you can get your fresh produce from a local farmer’s market. Another option is to get your food from a local CSA (Community Supported Agriculture) Farm. Keep in mind, USDA Organic Certification can be expensive and you may find many great farmers and beekeepers with excellent food and honey that isn’t USDA certified simply because they don’t produce a high quantity or opt for the expense of certification. Don’t let this get in the way of supporting them and if you’re worried about their products—have a conversation with them.  (Note – A huge challenge for beekeepers is to keep their bees in an area where there is no chemical spray within 3 miles, as this is really what is required to guarantee truly organic honey. All the more reason for us all to avoid the use of harsh chemicals.)

——- 

7. LEARN HOW TO BE A BEEKEEPER WITH SUSTAINABLE PRACTICES

Look up a local bee association that offers classes with natural approaches in your community and link up. Visit our resources & links page to start reading and exploring first steps!

——-

8. UNDERSTAND THAT HONEYBEES AREN’T OUT TO GET YOU

Honeybees are vegetarians. They want to forage pollen and nectar from flowers up to three miles from their hive and bring that food back to provide food for themselves and the beehive. Contrary to what the media might have us believe, they are not out to sting us. Here are a few tips to avoid getting stung. 1. Stay still and calm if a bee is around you or lands on you. Many bees will land on you and sniff you out. They can smell the pheromones that come with fear and anger it can be a trigger for them to sting you. 2. Don’t stand in front of a hive opening, or a pathway to a concentration of flowers. Bees are busy running back and forth from the hive, and if you don’t get in their way, they won’t be in yours. 3. Learn to differentiate between honeybees and wasps. Honeybees die after they sting humans (but not after they sting other bees!), wasps do not. Wasps are carnivores, so they like your lunch-meats and soda. Honeybees are vegetarians. For a quick lesson on their differences click here.

——-

 9. SHARE SOLUTIONS WITH OTHERS IN YOUR COMMUNITY 

There are so many fun ways to help and be a voice for the bees. Share about the importance of bees at local community meetings, at conferences, in schools and universities, and on on-line message boards and forums. Let them know about QUEEN OF THE SUN and other great media out there that is in support of the honeybee.

Invite your friends and family to attend a screening of QUEEN OF THE SUN in your area. Find screening locations. – (You can also see it on Netflix “Watch it Now”.) Be part of our Community Screening Campaign by hosting a house-party or larger screening in your area! Click here to learn more.-If you are part of an educational institution, ask your institution to purchase an Educational DVD of QUEEN OF THE SUN (available HERE)

 queen of the sun
Let’s Bee Bee-utiful!
: D
– Mensa

So Much Junk!

[youtube=http://www.youtube.com/watch?v=qkbsEoPDjCw&feature=share&list=UUZm-e0TGAWtNSV-S8UjO80g]

I did a bunch of Spring cleaning this weekend and what I noticed was Mensa and I receive tons of catalogs and junk mail. A large portion of what I recycled this weekend and every week is spam snail mail and personally I am tired of it.

Once again I am taking my personal life drama and using it in our blog. Let’s trash this junk! First place I started this morning with was Catalog Choice, which is free and took less than a minute to sign up and remove my first catalog.

Junk Be Gone

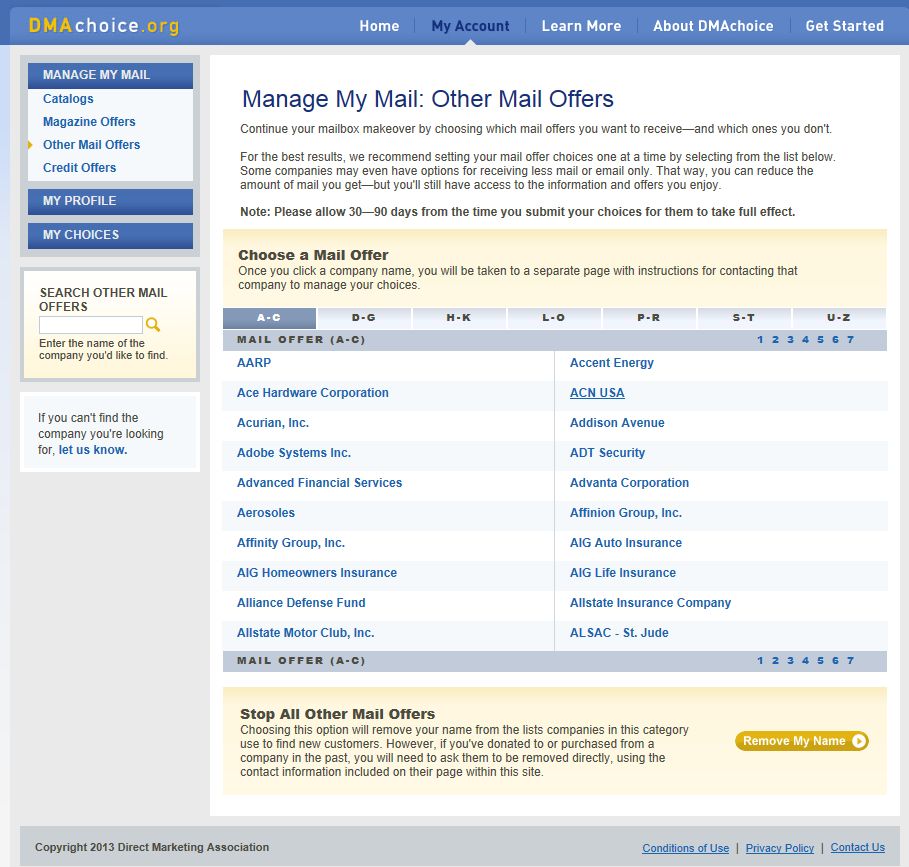
The second option I went with was www.dmachoice.org, the Direct Marketing Association (DMA) website.  They help you manage the catalogs you receive, mail from magazine publishers, such as subscription offers, newsletters, periodicals and other promotional mailings, various mailings, such as donation requests, retail promotions, cable and phone offers, bank offers and mail addressed to “Current Resident” and last but not least to manage pre-screened credit offers. All the things I dread seeing in the mail, which then ends up in the recycle bin.

DMAThe DMA Choice website is nice as they give you the contact information you need all in one place to stop this waste.

Check out both sites and stop the madness!!! I liked to end this entry with some dramatic stats that I found here below.

Shocking Junk Mail Statistics & Environmental Damage

  1. Junk Mail Kills 2.6 Million Trees Every Year.  I assumed each piece of “standard mail” was junk mail (this is only about 50% of the total volume of US Mail) and assumed that junk mail uses 2 sheets of paper (1 envelope and 1 letter), found the number of sheets of paper per tree, and did some math.  Of course some junk mail is only a postcard, but some is a catalog.  And some does use recycled paper.  But I did not factor in any of the damage caused by all those trucks burning gas to deliver all the mail either.
  2. Every US Household Gets 6 Pieces of Junk Mail Each Day.  I took the total volume of junk mail and divided by the number of households and the number of mail delivery days and got the answer, which is 6.3.
  3. In 5 Days We Produce Enough Junk Mail to Reach the Moon.  I took the width of a business envelope (8-7/8 inches) and multiplied by the number of junk mail pieces and divided by the number of inches to the moon, and saw that we could reach the moon 61 times per year with our junk mail.  If you divide the number of mail delivery days by 61, you get 5, which means every 5 days we could reach the moon again with our junk mail.
  4. Junk Mail Produces 1 Billion Pounds of Landfill Each Year.  If you take the 2.6 million trees killed each year and convert that into pounds of paper, you get roughly 2 billion pounds.  Even if you assume half of that is recycled (I saw an estimate of 45% on Wikipedia) you still have 1 billion pounds of paper going into landfills
  5. Junk Mail Weighs Almost Double the US Military’s Tanks.  Our junk mail weighs nearly twice as much as all the US tanks in the world, combined.  If you take the average US tank at a weight of 67 tons (a ton is 2,000 pounds) and divide the total weight of paper from junk mail by that number, you find that junk mail produced each year weighs the same as over 15,000 tanks.  According to Wikipedia, the US military has about 8,000 tanks.  By the way, a tank weighs about 40 times more than a standard car.

Okay, so we here at Mushpa y Mensa make the commitment to be on top of every piece of junk mail we get. I also promise to out the corporations that will not let us opt out. I said it!!!

-Mushpa