Category Archives: How-To

Sewing Around the House: A few easy projects!

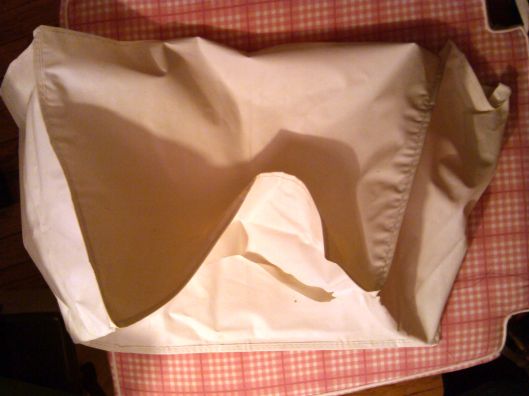
I’ve been friends with my sewing machine for a bit now, and we have grown closer over the past year. I have kept her near me and loved her very much, but one thing is that I have not been very good about covering her. One reason is because I have the old  (ugly) plastic cover that it came with.

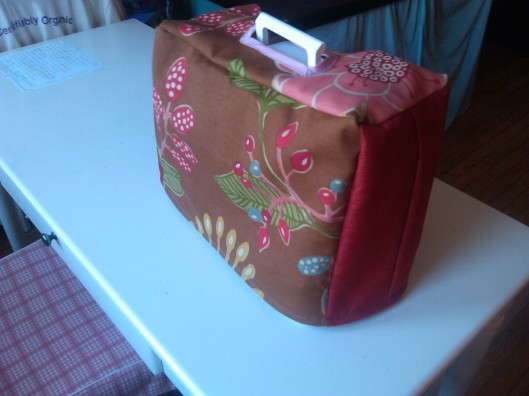
mushpa mensa sewing

I got inspired and decided to make her a little outfit using refurbished material and gifted fabric! Now my sewing machine is not so cold, wont get so much dust, and actually looks pretty!

sewing machine mushpa y mensa

Tip: I used the old plastic cover to draft and cut out the pattern pieces to make the sewing machine cover. You don’t need a pattern as long as you have the old cover. If you  are not afraid to go for it, you can just measure the height and width of your machine and make five rectangles to sew together!

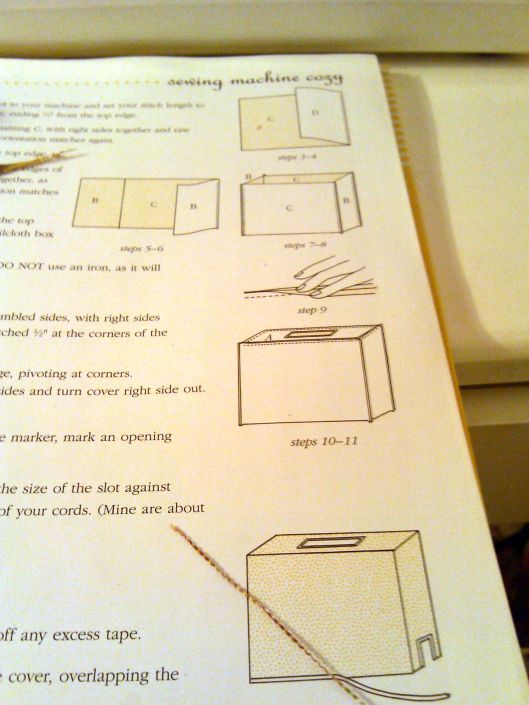
For this project, I  also used  as a guide this sewing book that I like very much, the Sew Everything Workshop: The Complete Step-by-Step Beginner’s Guide. It is written by Diana Rupp, and it is fabulous for people getting into the sewing world. It comes with patterns, instructions and lots of practical information about different fabrics and tips as well as historical facts and fun sewing projects.

sew everything workshop diana rupp

This book was part of a gift from Mushpa, who not only included the book, but a class to sew a “Naughty Secretary Skirt” with Ms. Diana Rupp herself! If you live in NYC and want to practice some guided sewing, check out the Make Workshop for amazing classes of  all types!

Tip: Get a sewing book. There are TONS out there. I have a couple that I use as reference all the time. I think it’s helpful for little details, how-to and random information. Any time I get stuck in a project, or need inspiration, I look at them. Also, if you can, take a sewing class. It really helps with understanding the process as a whole, and you get to hang with other sewing aficionados!
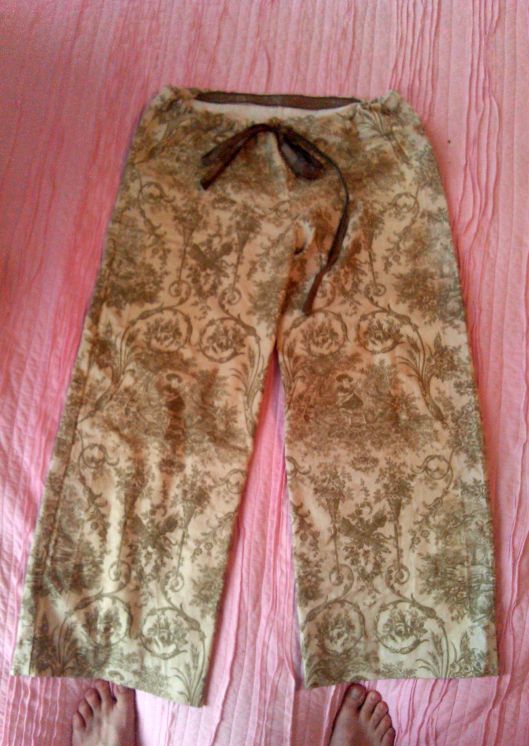
make everything workshop diana ruppI also got inspired and made some new yoga pants as well using this book! With some risky adjustments to the pattern, I had just enough scrap fabric to make some  new pants by refurbishing old curtains! Sound of Music anyone?

Fortunately the adjustments that I made to the pattern were fine, and I was able to cut the pieces just right!I thought the fabric would be OK to wear these pants out in public, but they ended up looking too pajama-ish! That’s OK though, because now I have some super fancy pajama pants!

Tip of the Universe: If you have almost enough fabric, but not quite enough, try hoping for the best when doing pattern adjustments! I literally visualized and prayed to the universe that the adjustments I made to the pattern would work… With a little faith, anything is possible!

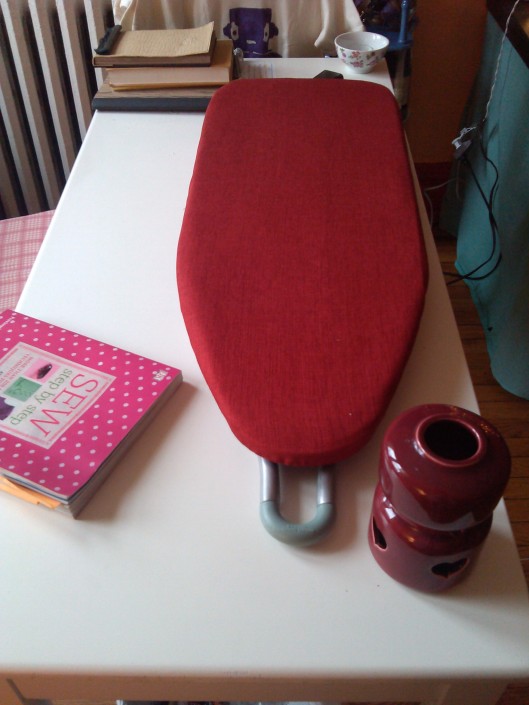
Finally, the last project for the house I sewed was our darling ironing board. The old cover was gross and old… This was a very easy project though. I pretty much traced a pattern around the ironing board and left a good 4 inches or so of seam allowance.

sew an easy ironing board cover

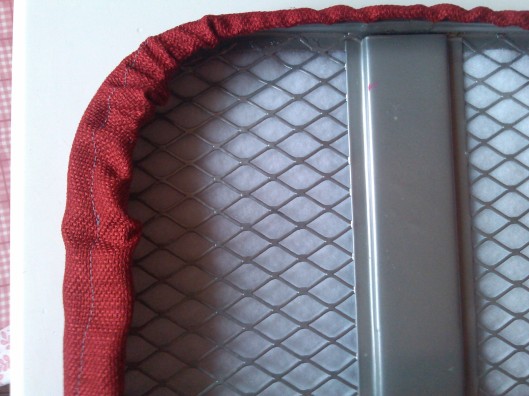
Then I folded the seam about an inch and sewed it down in order to leave a space for a cord to run through the seam, and left an inch wide opening to be able to pass the cord through. After attaching safety pins to the cord, I pushed the cord  through the seam and covered the ironing board. Pull tight and knot it at the end! Not so bad huh?!

sew an easy ironing board cover

Updating our home, one sewing project at a time!

Much love,

-Mensa
Don’t Eat Your Food Dyes!

If your food dyes don’t come from naturally derived sources, we say it’s better to keep them off your body! If you still have some around…then….

DO AN ART PROJECT!

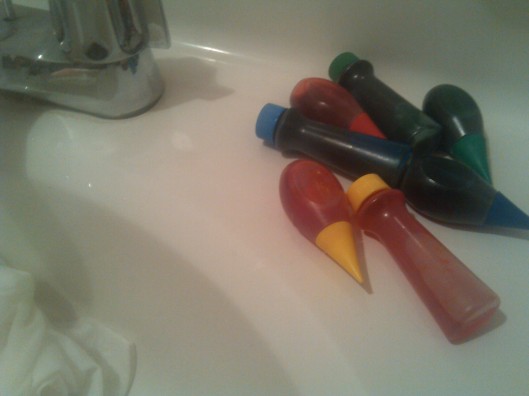
1. Find your colors and add hot water to a container or sink.

Food Dyes for crafts mushpa y mensa

2. Add vinegar or salt or any other mordant to make the dye stay on the fabric.

Food Dyes for crafts mushpa y mensa

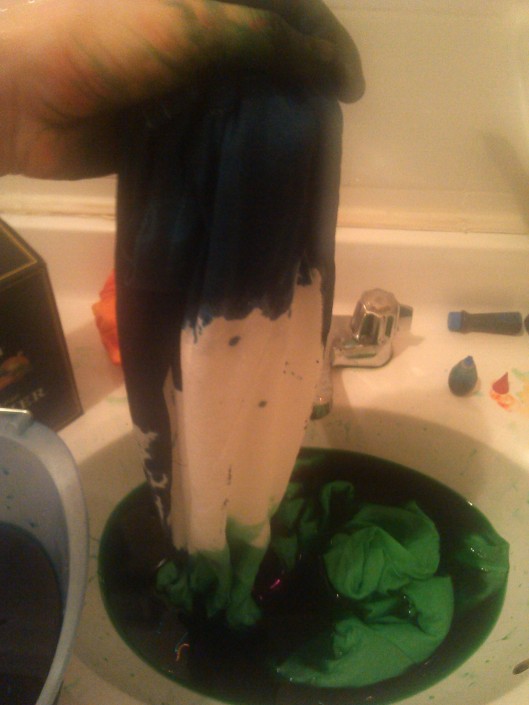
3. Dip the shirts in and let the fun begin!

Food Dyes for crafts mushpa y mensa

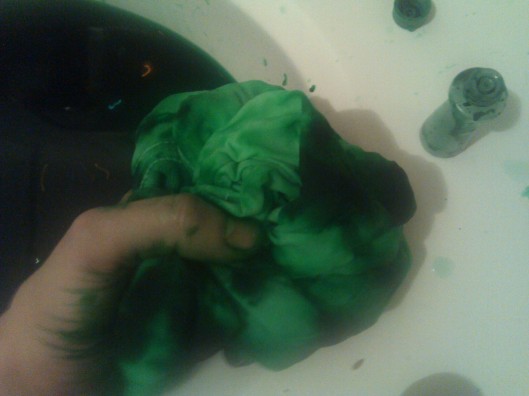
We played around with different colors and techniques, but it gave us a definite hippy tie-dyed look! Totally ….

Food Dyes for crafts mushpa y mensa

You can let the shirts sit in the dye anywhere from 30 minutes to an hour. This was an experiment for us, so  the results will come in soon!

Food Dyes for crafts mushpa y mensa

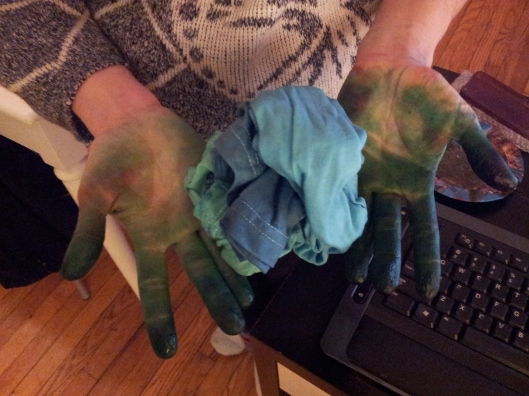
And this is what our stomachs might look like when we drink the Kool-Aid… gross!

So don’t…

Use your old dyes on things that won’t die!

-Mensa

Before January ends….Re-Calendar!

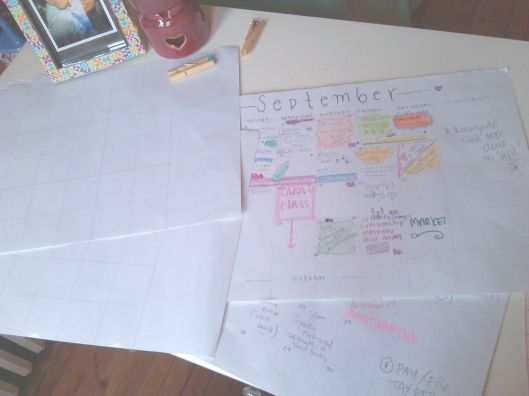
In the time it takes you to get in your car, subway or bike to the office supply store to buy a calendar, you can easily make a calendar for the new year yourself! For free if you have the supplies, and Eco if you reuse old paper and use supplies from home!

mushpa y mensa

We did this half way through last year, and last week we took the old calendar down, flipped over the old pages and drew new lines for the new days and months of the new year!

Steps.

1. Find any 18×10 inch paper or card-stock. We had some around, and it turned out to be the PERFECT size.  You can make a smaller too, just make sure you divide it in 7 equal parts for the days of the week.

2. Using a ruler, mark off every 2 inches on every side, and draw vertical and horizontal lines to make the little boxes. This size was perfect for 7 days (each day was 2×2 inch squares) and it left a nice (2×4 inch space each week) for additional “notes”.

mushpa y mensa

3. Mark the days of the week with a marker, and while LOOKING CAREFULLY at a calendar (I looked on my phone) mark the days down when the month starts, through its end.

4. Add some colors and decorations….and any special dates you may wish to remember….and you’re done! : )

Happy crafting!

-Mensa
Mushpa y Mensa’s Project Clean House 2014


mushpa y mensas clean hosue project 2014

I begin this year starting fresh with my posts, as I know that in December I was not keeping up with my partner in crime Mushpa’s amazing word press posting skills and motivation.

Here I will start by telling you that it was necessary for us to start the new year with an amazingly clean and organized home. For the past few days Mushpa y Mensa have re-energized our apartment, thrown out unnecessary trash, given away unused items, and said good bye to old memories, to make space for the journeys of the new year!
———————————————–

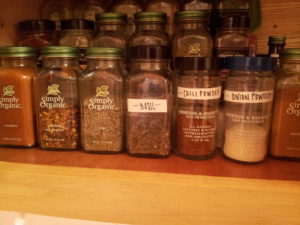
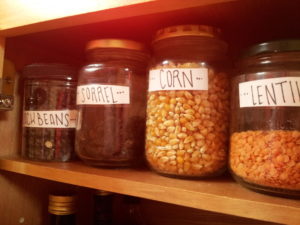
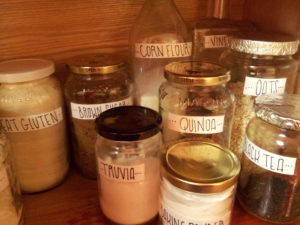
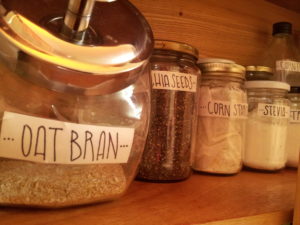
My favorite project so far has been re-organizing the kitchen cabinets. We used old jars of pasta sauces and pickles, and  we cleaned them and re-labeled them in order to super organize everything from baking soda and stevia, to oats and chia seeds.  We also bought spices sold in bulk so we refilled empty spice jars, and re-labeled others for new spices! You don’t need anything fancy to make the labels…only card-stock, pen and tape…and voila!

JAR LABELS DIYJAR LABELS DIY  JAR LABELS DIYJAR LABELS DIY

Here are some good tips on what a good New Year Cleaning might be deserving of.

1. Kitchen: Clean all the cabinets inside and out, above and below…. and give away any unused cooking items. Our street-found iron pan, an old recipe book, a coffee grinder and random containers were among the items we left in a brown bag for people to pick and choose from at the entrance of our building.  Some people’s “trash”, other people’s treasures! Reduce, and someone else will most definitely reuse!

2. Bedroom and Studio: We cleaned and are almost finished reorganizing our studio and bedroom, yet one really important aspect of the process was to get rid of (and RECYCLE of course) all old paperwork that only took up space. Sometimes little mementos are nice to keep, and we do so in a small box in our bedroom where later on in they year they will probably be compiled into a scrapbook. Other papers/old pictures/brochures/receipts and such are in the “out” pile. It might seem crazy, but the house feels lighter without these items cluttering everywhere.

environmentally friendly cleaning product

3. Clean clean clean: And I mean clean….everything. I even vacuumed inside the stove stop where my hand and sponge couldn’t work. The best part of this is that you DO NOT NEED any harsh chemical products to have a clean home. We used our trusted Vinegar + Water + Peppermint Oil concoction for every surface. Works like a charm, and it smells nice too.  For the very touch stains, grease grime and soap scum, we use our trusted Bon Ami cleaner. It only has 5 ingredients including limestone, feldspar and baking soda derived from sustainable resources that won’t harm our earth!

Now our home feels lighter with better energy to start a new year. A few good prayers with incense and candles burning will add the perfect touch to the amazing energy that circles our home….

From our clean home, we wish you all a very Happy New Year!

Happy into the New Year!


Much love,

Mushpa y Mensa
 

Super Delicious Chocolate Oat Bran Cookies

Dukan Diet Chocolate Oat Bran Cookies

I have been working tirelessly on the greatest oat bran cookie recipe ever! I feel like I finally have one worthy enough to put in our blog. It is sugar free as well (for all you diabetics), we use Truvia Spoonable instead.

Here it is:

Dry Ingredients

12 Tablespoons of organic oat bran

5 Tablespoons organic Dutch processed cocoa powder

2 Tablespoons organic flax seeds

3.5 Tablespoons Truvia Spoonable

2 Teaspoons baking powder

Dry

Wet Ingredients

3 Tablespoons alcohol-free vanilla

2 whipped egg whites (dry or liquid)

3 Tablespoons Trader Joe’s fat-free sour cream (or organic nonfat Greek yogurt)

egg whites

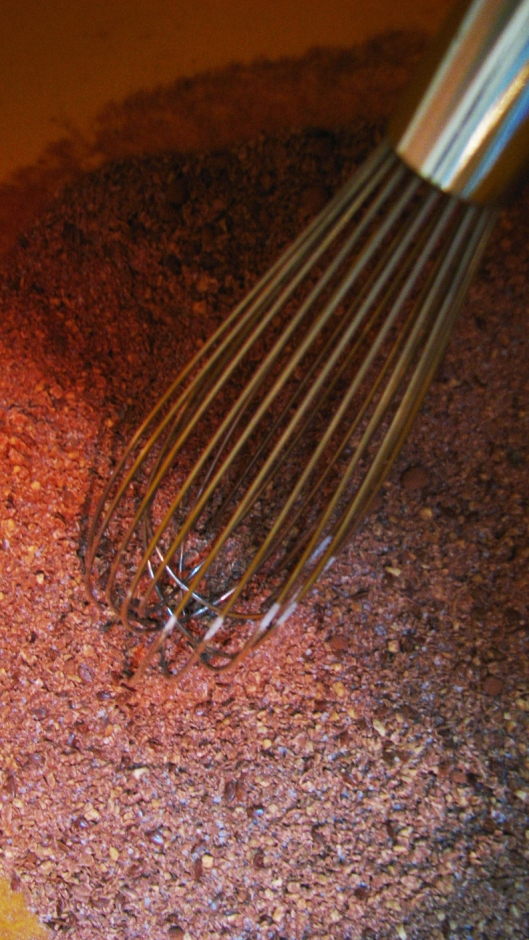
Preheat the oven to 350 degrees. Mix the dry ingredients in a bowl, then mix the wet ingredients in another bowl, then mix them all together. Mix ingredients for a few minutes till the oat bran and cocoa soak up all the fluids. You don’t want it runny. Then put some aluminum foil down on the baking sheet, grab a big spoon, dig in the batter and scoop out a spoonful onto the cookie sheet 12 times! Bake for 15 to 20 minutes. Take out, cool and eat!

Cookie Sheet

Keep the leftovers in the refrigerator since there are not any preservatives. This way they will last about a week. Use the sour cream if you want more of a brownie type of cookie. If you want a denser cookie use the Greek yogurt. They both are delicious just different.

Enjoy!!!

– Mushpa

Officially Mushpa, Officially Mensa
We are delighted to let you and the world know that we are official!

On November 3, 2013 Mushpa y Mensa went on a small field trip to the Kings County Clerk Office. Here we registered our name, paid a fee, and got a nice stamp of approval to become a real business in Brooklyn, NY!
Here are some pictures of the process and some tips….

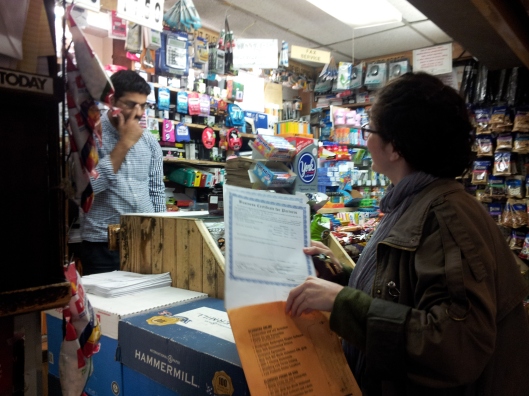
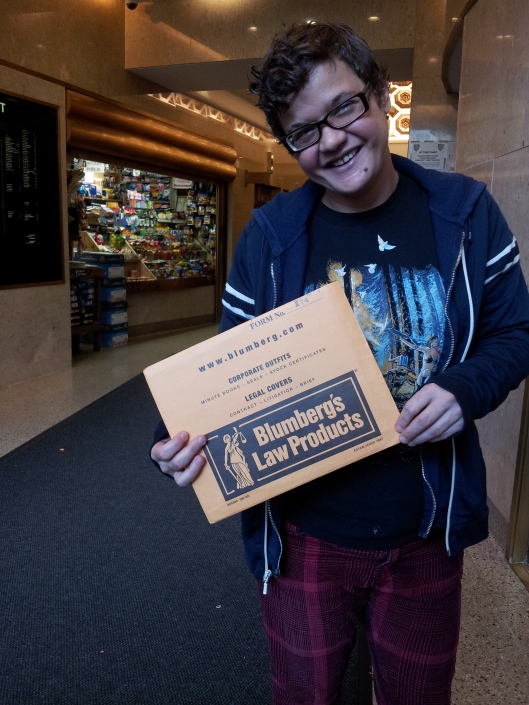
1. We bought a “Business Certificate for Partnership” at a Stationary that provides legal documents. For a partnership you have to get form X74. They cost about $3. Fill it out with BLACK ink! (Thank you Mushpa for double checking on the small details!).

Business Certificate Brooklyn

After that you have to sign it in front of a public notary and boom! You are ready to move on. We found a notary close to the County Clerk’s Office.  He sold candy and snacks too!

Business Certificate Brooklyn

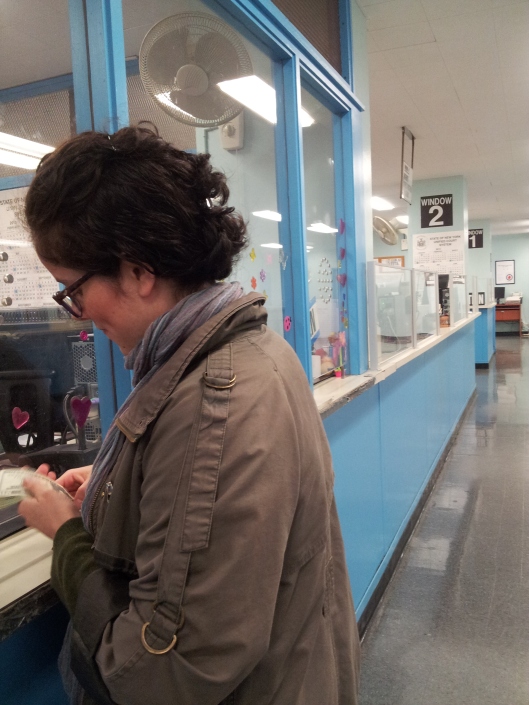
2. We went to 360 Adams St. (room 189) were the King’s County Clerk office is located and went through 3 separate windows to get this processed. It was very quick! You give them your signed certificate, the name of your business, Mushpa y Mensa for us, and jump to the next window to pay a fee.  In their website they have the following information on fees:

“Fee for filing $100.00
Fee for certification $10.00 for certified copy
Fee for image copies $ 0.25 per page

THEREFORE: FILING A BUSINESS CERTIFICATE AND GETTING ONE CERTIFIED COPY WOULD COST $110.50 FILING A BUSINESS CERTIFICATE AND GETTING TWO CERTIFIED COPIES WOULD COST $121.00″

Business Certificate Brooklyn

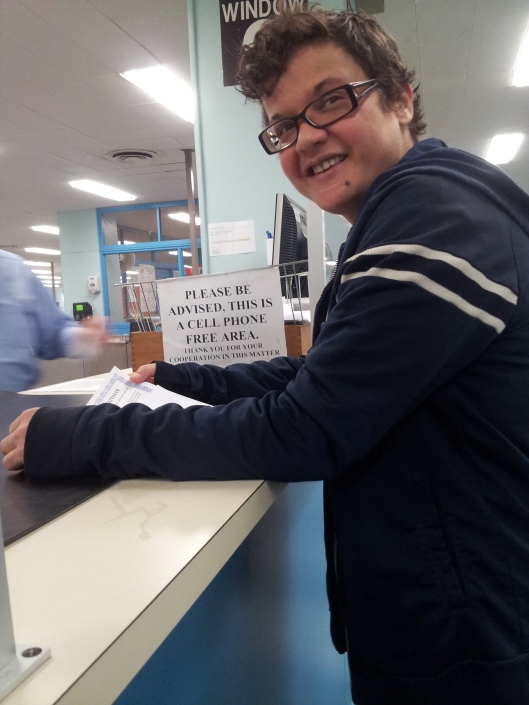
3. With the receipt of your paid fees you approach the last window and patiently await your stamped certificate! Below is Mushpa being so patient and very excited!

Business Certificate Brooklyn

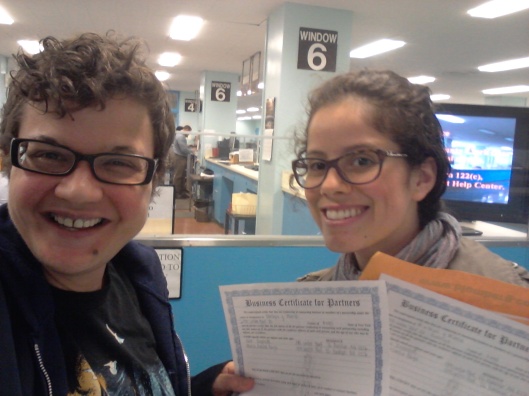
4. You did it! and by you, I mean WE DID IT! Finally we are an officially registered business in Kings County aka Brooklyn, New York! Here is some more information that we found on becoming a business, what type of business, and further registering at local and state level. It is a bit confusing at first, but doing LOTS of reading is very helpful. Make sure you also register for an EIN (Employer Identification Number) which works as a Social Security Number for your business when you have to file taxes with the IRS. You can file form SS-4 online! And if you will be engaging in selling and charging sales tax you also have to get a Certificate of Authority.

Business Certificate Brooklyn

5. Then you CELEBRATE! With our new official Business Certificate, we went to get delicious milkshakes : ) Now we can conduct business officially as Mushpa y Mensa!

Business Certificate Brooklyn

Moving forward! Yep yep!

-Mensa

The Healthiest Dessert: Tofu Chocolate Pudding!

The yummiest, and healthiest dessert you will ever eat….

And you can make it in less than 5 minutes.

chocolate pudding tofu

-1 package of Silken Tofu

-1 tablespoon of sweetener (We like Stevia/Truvia. Adjust if you want more or less. I started sprinkling and kept adding until I reached about 1tbsp.)

-2 tablespoons of powdered cocoa (adjust as well…I started sprinkling and mixing until chocolatey goodness was reached)

-1 teaspoon of vanilla essence

Mix all ingredients in a food processor or blender….and boom! That’s it.
It was so good, that I realized that I should probably take a picture after I had finished it all!

-Mensa

Go Green, Live Rich

The Universe

Mensa and I are blessed by the Universe daily. It occurs so often we sometimes take for granted all the little miracles happening all around us. We were talking about it last night, about how we need to acknowledge them, recognize them for what they are, validate and appreciate. :]

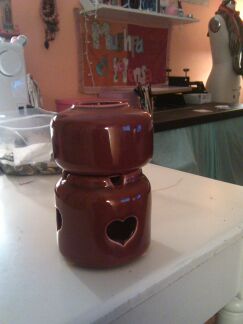
For example, I was thinking the other day after picking up some eucalyptus, rosemary and tea tree oil* for Mensa’s allergies that we should start doing some aromatherapy. It reminded me when I was the body care buyer for Whole Foods and was in charge of buying essential oils. The reps gave me oils to sample and some really nice ceramic aromatherapy candle essential oil burners. I have no idea where they have gone over the years, but I thought we should get one and get back into it. The next thing you know I get a text from Mensa with this photo below.

aromatherapy candle lamp essential oil burner

She had found this ceramic aromatherapy essential oil burner on the sidewalk, clean and in prefect condition. The funny thing was I had never even mentioned that I was thinking about this. Little things you see.

Then we were walking around Brooklyn the other day and found some books. One of them was, “Go Green, Live Rich“, by David Bach. Green, check, rich, not yet but lets see what he has to say. Rewards for doing the right thing sounds good to us. :]

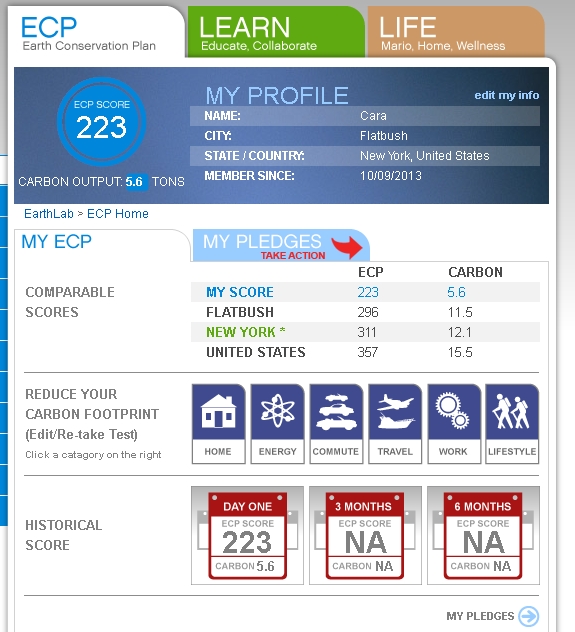
The first chapter is about measuring your carbon footprint. The site David Bach recommends is www.earthlab.com/createprofile. I went and set up a profile and answered their questions. My results are below:

Results

It’s nice if you set up a profile because then you may calculate your ECP (Earth Conservation Plan) and see what the averages are in your area, state and country. I’m super competitive. :]

My Profile

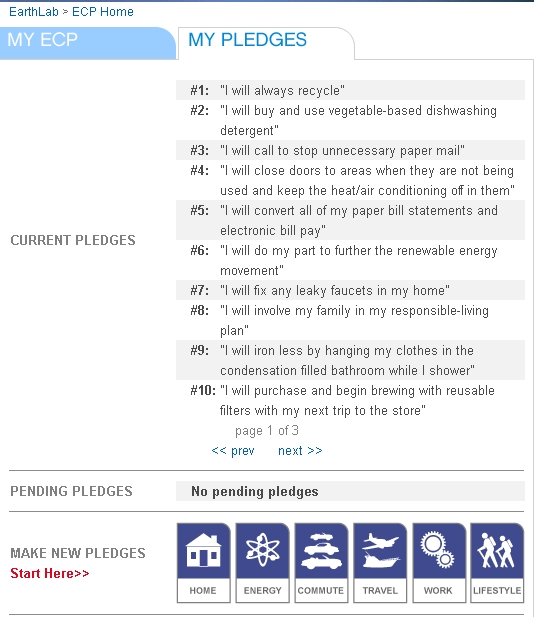
Lastly, you may set up pledges to do more amazing things in your life. You start out checking what you already are doing and then from there grow.

PledgesGo hard or go home.

– Mushpa

*These particular oils are good at clearing you up. You can include myrtle oil but it costs a fortune, 30 something dollars for 15ml, so we skipped that one. Plus, you can only find it online, even in NYC. As a quick aside this is what you do to help with allergies, fill a saucepan with water and bring to a boil. Turn off the heat, take the pan off the stove top and add 3 drops eucalyptus essential oil, 3 drops rosemary essential oil, 2 drops myrtle essential oil and 2 drops tea tree essential oil. Tent a bath towel over the saucepan (keep your face just far enough away from the steam to avoid burns) and inhale deeply for 5 to 10 minutes. Repeat 1 to 3 times a day.

Free 99¢ Shelf

Sometimes we drool over the furniture on the street. Ok, correction. I drool over the furniture on the street and Mushpa tries to convince me not to bring trash into our home, and be a bit more…what shall we say, selective?

When we have more space, we will be bringing in all sorts of furniture to re-vamp and re-furbish, and potentially sell in our shop as well! This goes back to our idea of making things “from scratch”. On our 100th Blog Post we tried to explain our approach to doing things from now on. If we have the tools to be able to make it, then why not try to do it ourselves? Here is a perfect example.

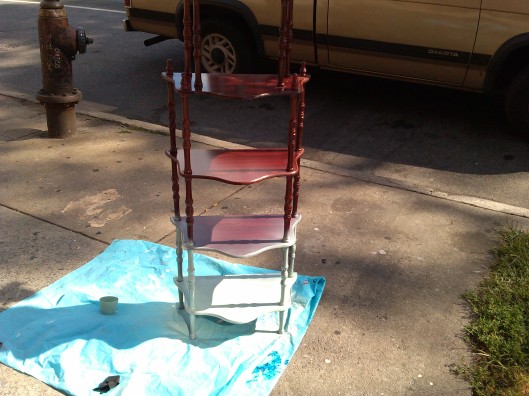
reburbished furniture DIY

This is one of the pieces we found a block down from our home. We decided that if it was still there when we came back from our walk, that we would take it in.

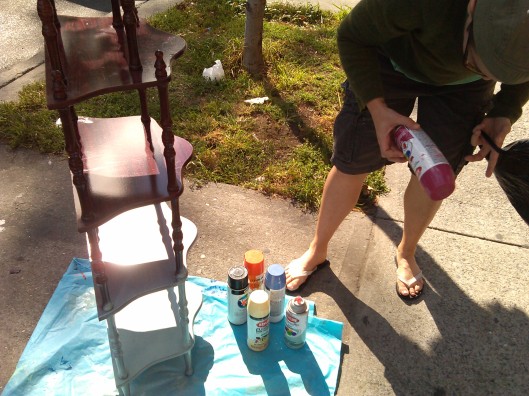
reburbished furniture DIY

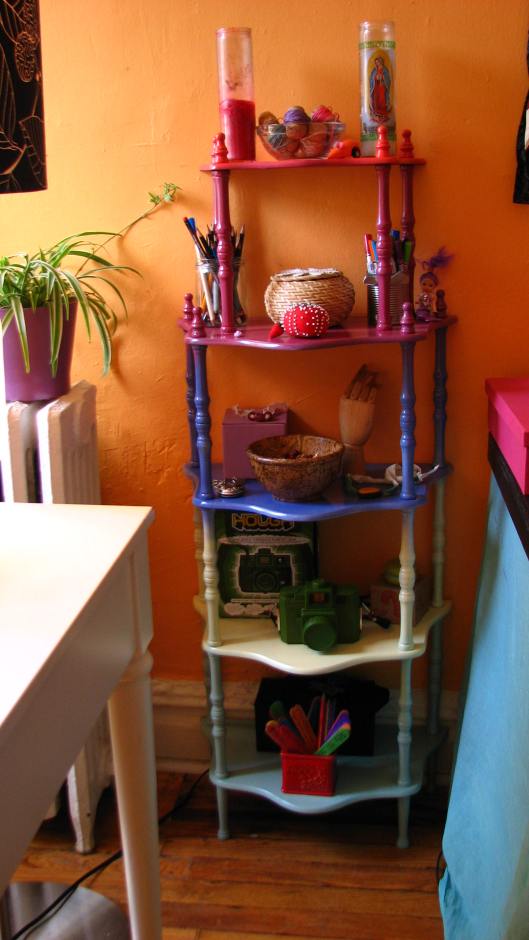
We needed storage, and we got some for free! With a few left-over spray paint cans, we painted it and now it looks fantabulous on our studio!

diy refurbisehd shelf

Thank you Mushpa for this one!

: )

-Mensa

Free 99 Cents Shelf

Sometimes we drool over the furniture on the street. Ok, correction. I drool over the furniture on the street and Mushpa tries to convince me not to bring trash into our home, and be a bit more…what shall we say, selective?

When we have more space, we will be bringing in all sorts of furniture to re-vamp and re-furbish, and potentially sell in our shop as well! This goes back to our idea of making things “from scratch”. On our 100th Blog Post we tried to explain our approach to doing things from now on. If we have the tools to be able to make it, then why not try to do it ourselves? Here is a perfect example.

reburbished furniture DIY

This is one of the pieces we found a block down from our home. We decided that if it was still there when we came back from our walk, that we would take it in.

reburbished furniture DIY

We needed storage, and we got some for free! With a few left-over spray paint cans, we painted it and now it looks fantabulous on our studio!

diy refurbisehd shelf

Thank you Mushpa for this one!

: )

-Mensa